Total Preparation Time – 2 1/2 Hours
Time Spent Waiting – About 2 Hours
Cooking Time – 3 – 5 Minutes per Batch of 3
One of the problems with frying is what to do with the Oil. I hate disposing of cooking oil after one use. So, that meant that the next cooking project needed to be another frying project. After brainstorming, I had always wanted to try to make Honey Buns. I remember, in my younger days, having a honey bun from a vending machine warmed in a microwave. It was so good, and so bad. LadyDi and I agreed that this was the next project.
Let’s talk about saving the oil. Many years ago, when I worked in a Deli/Bakery, they replaced the oil, every 4-5 days, after many uses. So, for the oil from the Apple Fritters, I left it in the pot, sealed it in plastic wrap (after it cooled, of course), put the lid on, and placed it in the refrigerator. This was essentially an experiment in reuse of oil. When it came time to use the oil, two weeks later, the oil had a mild apple aroma and no indication that it had gone rancid. Over the years, I have noticed that when Oil, especially vegetable oil, starts to go bad it gets, what I would describe, a wooden smell. Be sure to check your oil before using. Oil starts to go bad once it’s exposed to air.
Like Apple Fritters, there are many interpretations of the Honey Bun recipe, out there. Surprisingly, not one of my many cookbooks had a recipe. As always, I am looking for a starting point, which I can adapt to my tastes. This particular recipe is basically a yeast donut that is shaped, filled and glazed. Let’s get started and see how this recipe turns out.
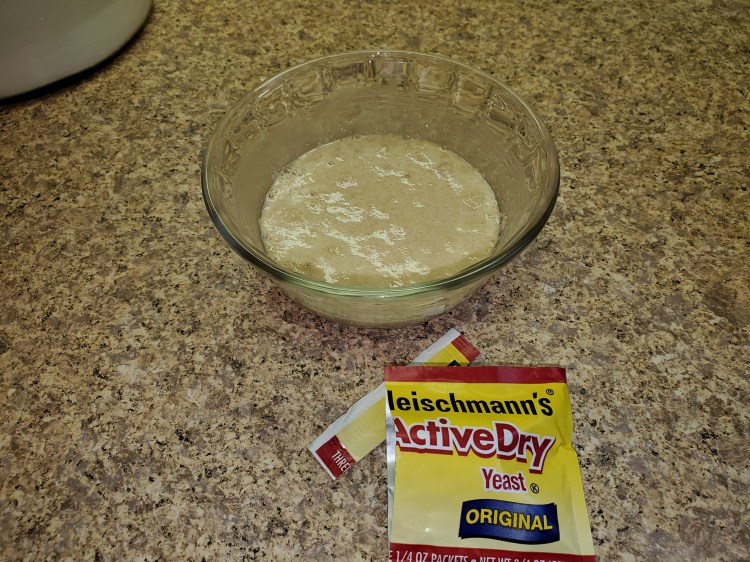
As with any yeast dough, I recommend activating the yeast, per the yeast instructions. Activating the yeast, adds a little extra liquid to your recipe, which you can compensate by adding a little extra flour. If you don’t activate your yeast, you run the risk of getting far into your recipe with a dough that won’t rise. I’ve written in detail about activating yeast in my Bagel and Apple Fritter posts. Trust me, it’s worth the extra time to make sure your yeast is working.
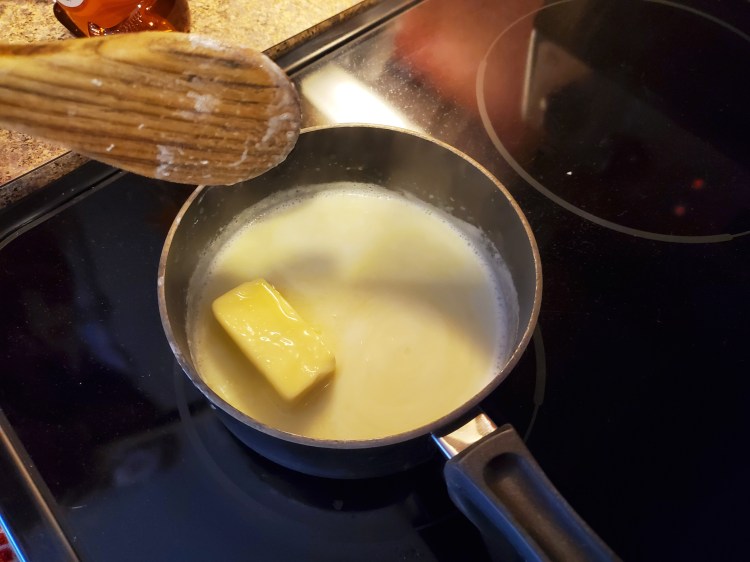
While you are waiting for your yeast to activate, you need to scald your milk. Scalding sounds somewhat intimidating. Really, what you need to do is heat your milk to free up the milk sugars. You can do this in a microwave, or in a saucepan on your stove. Bring your milk to a low boil (to a point where it just starts bubbling), over a medium to medium high heat. Stir frequently, you don’t want the milk to burn. When the milk starts bubbling, add the butter and honey, stirring until the butter is melted. Remove from heat and let the mixture cool.
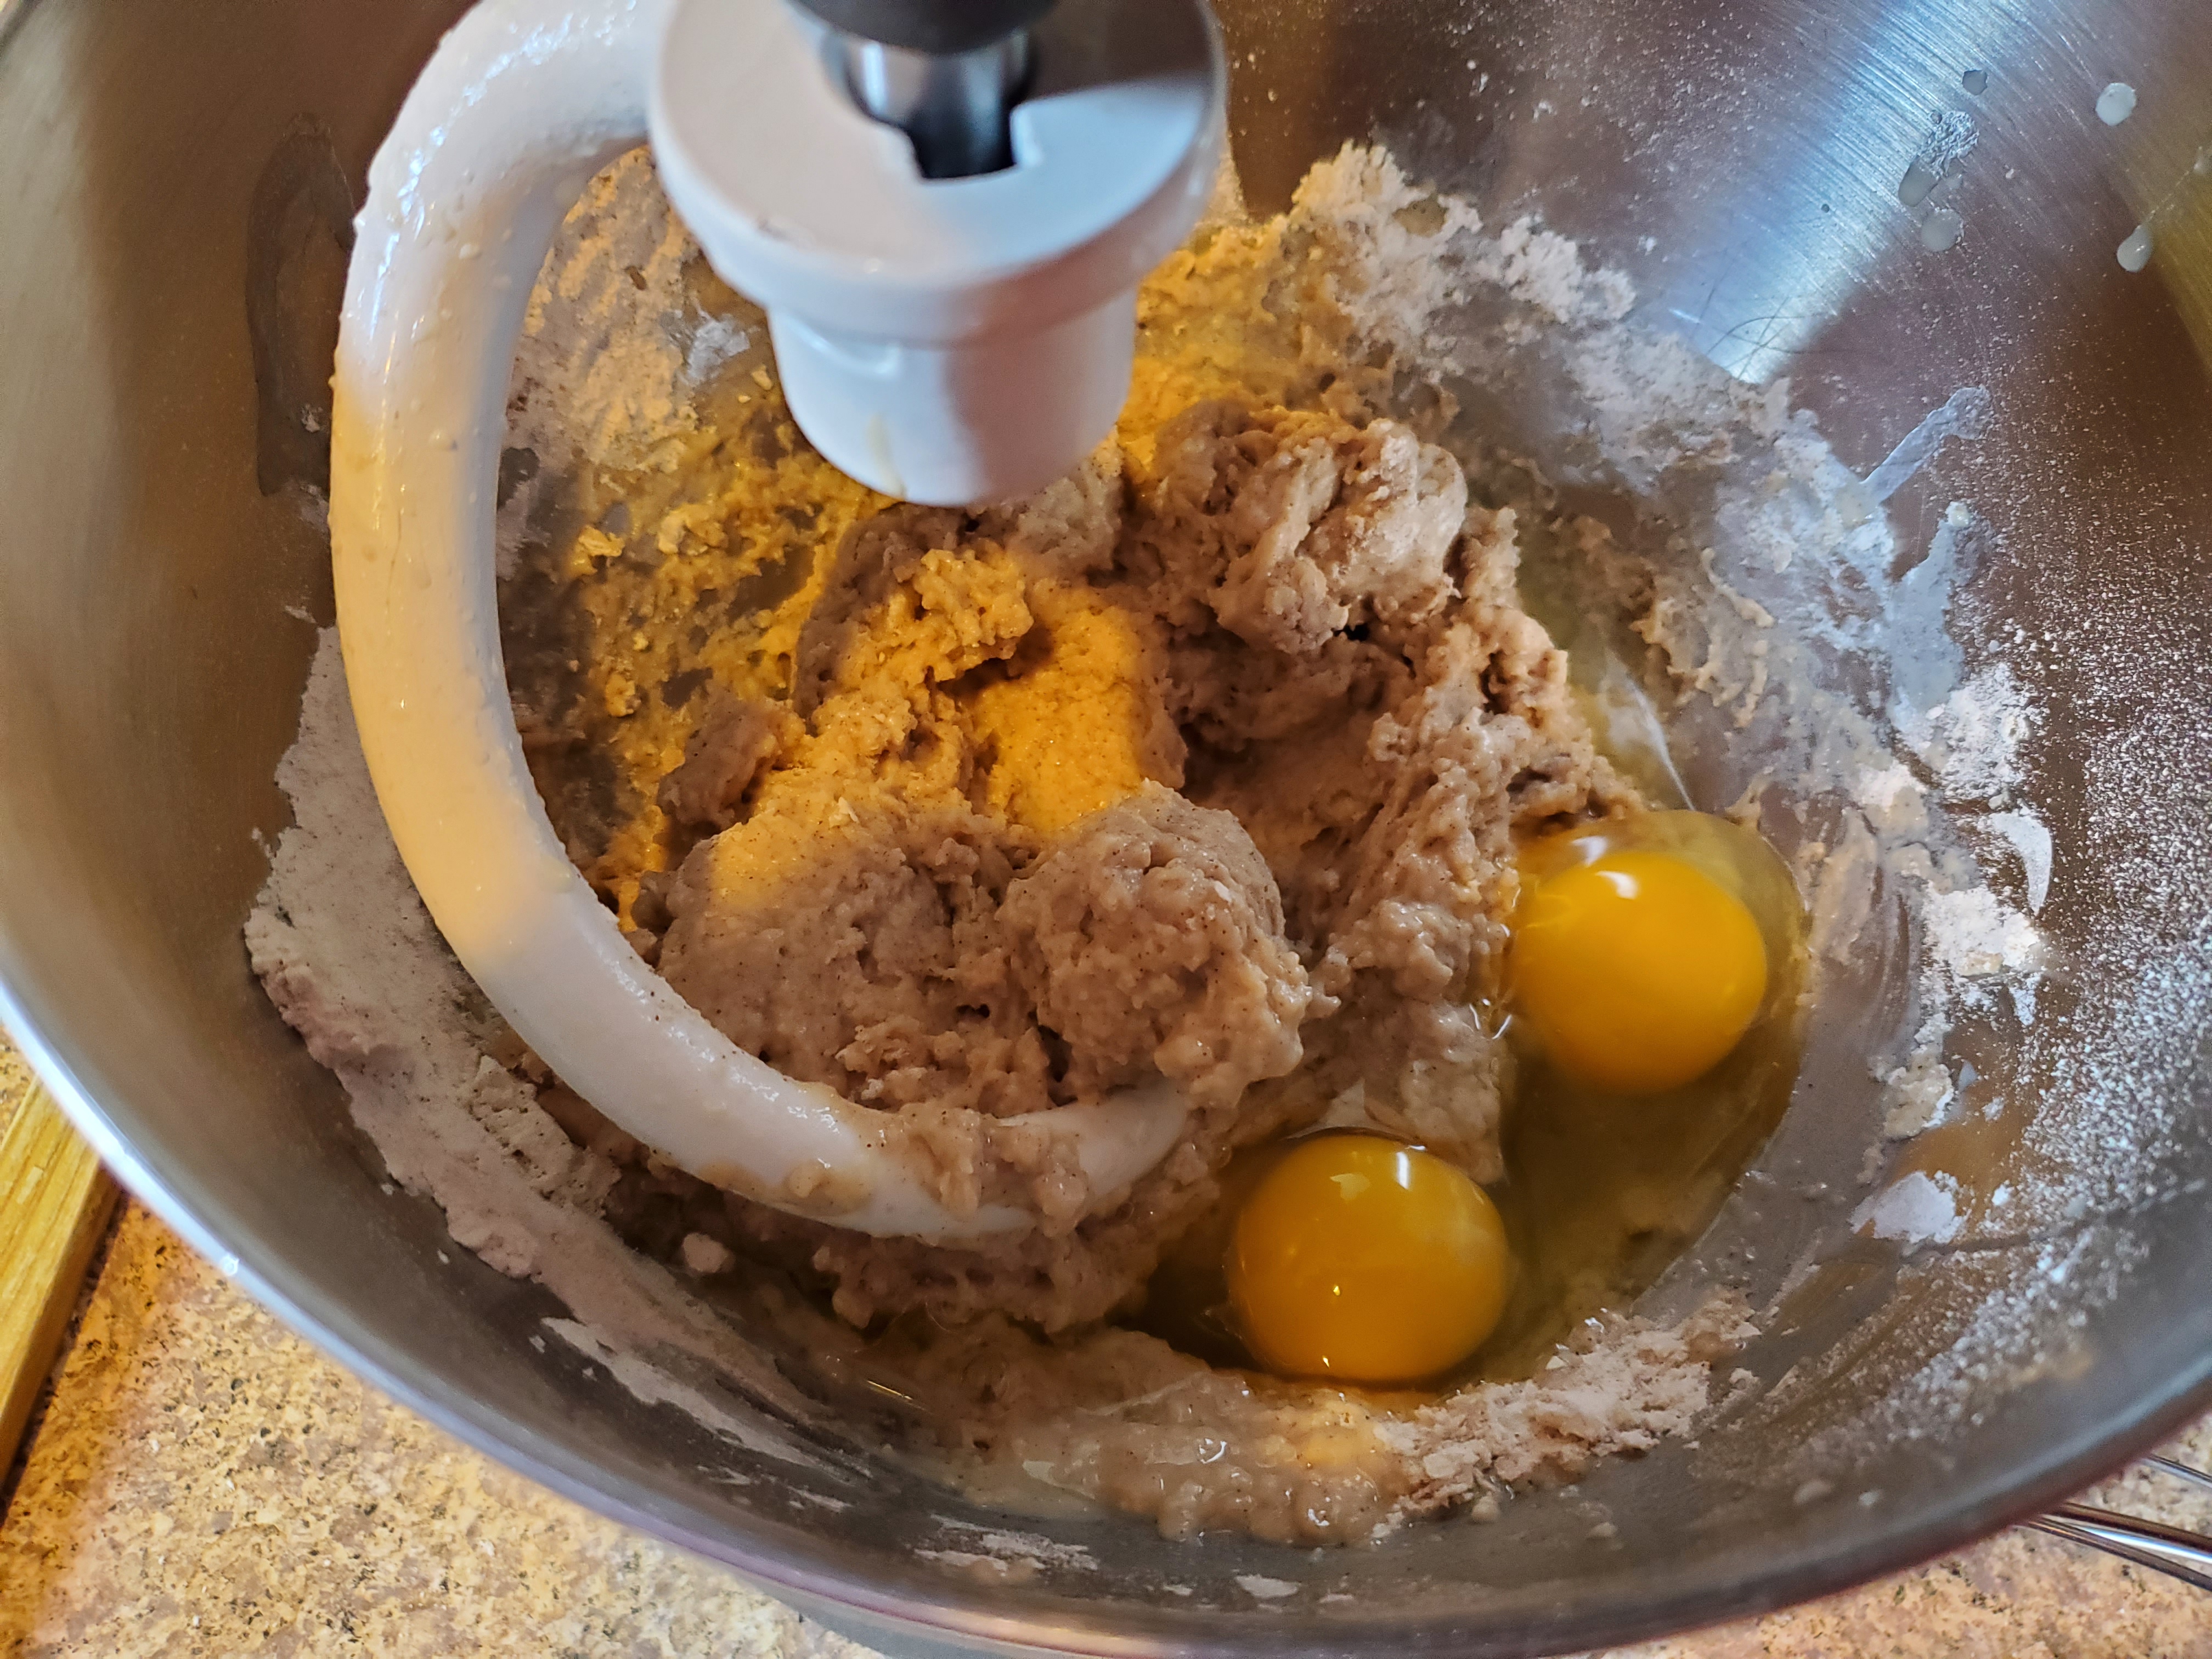
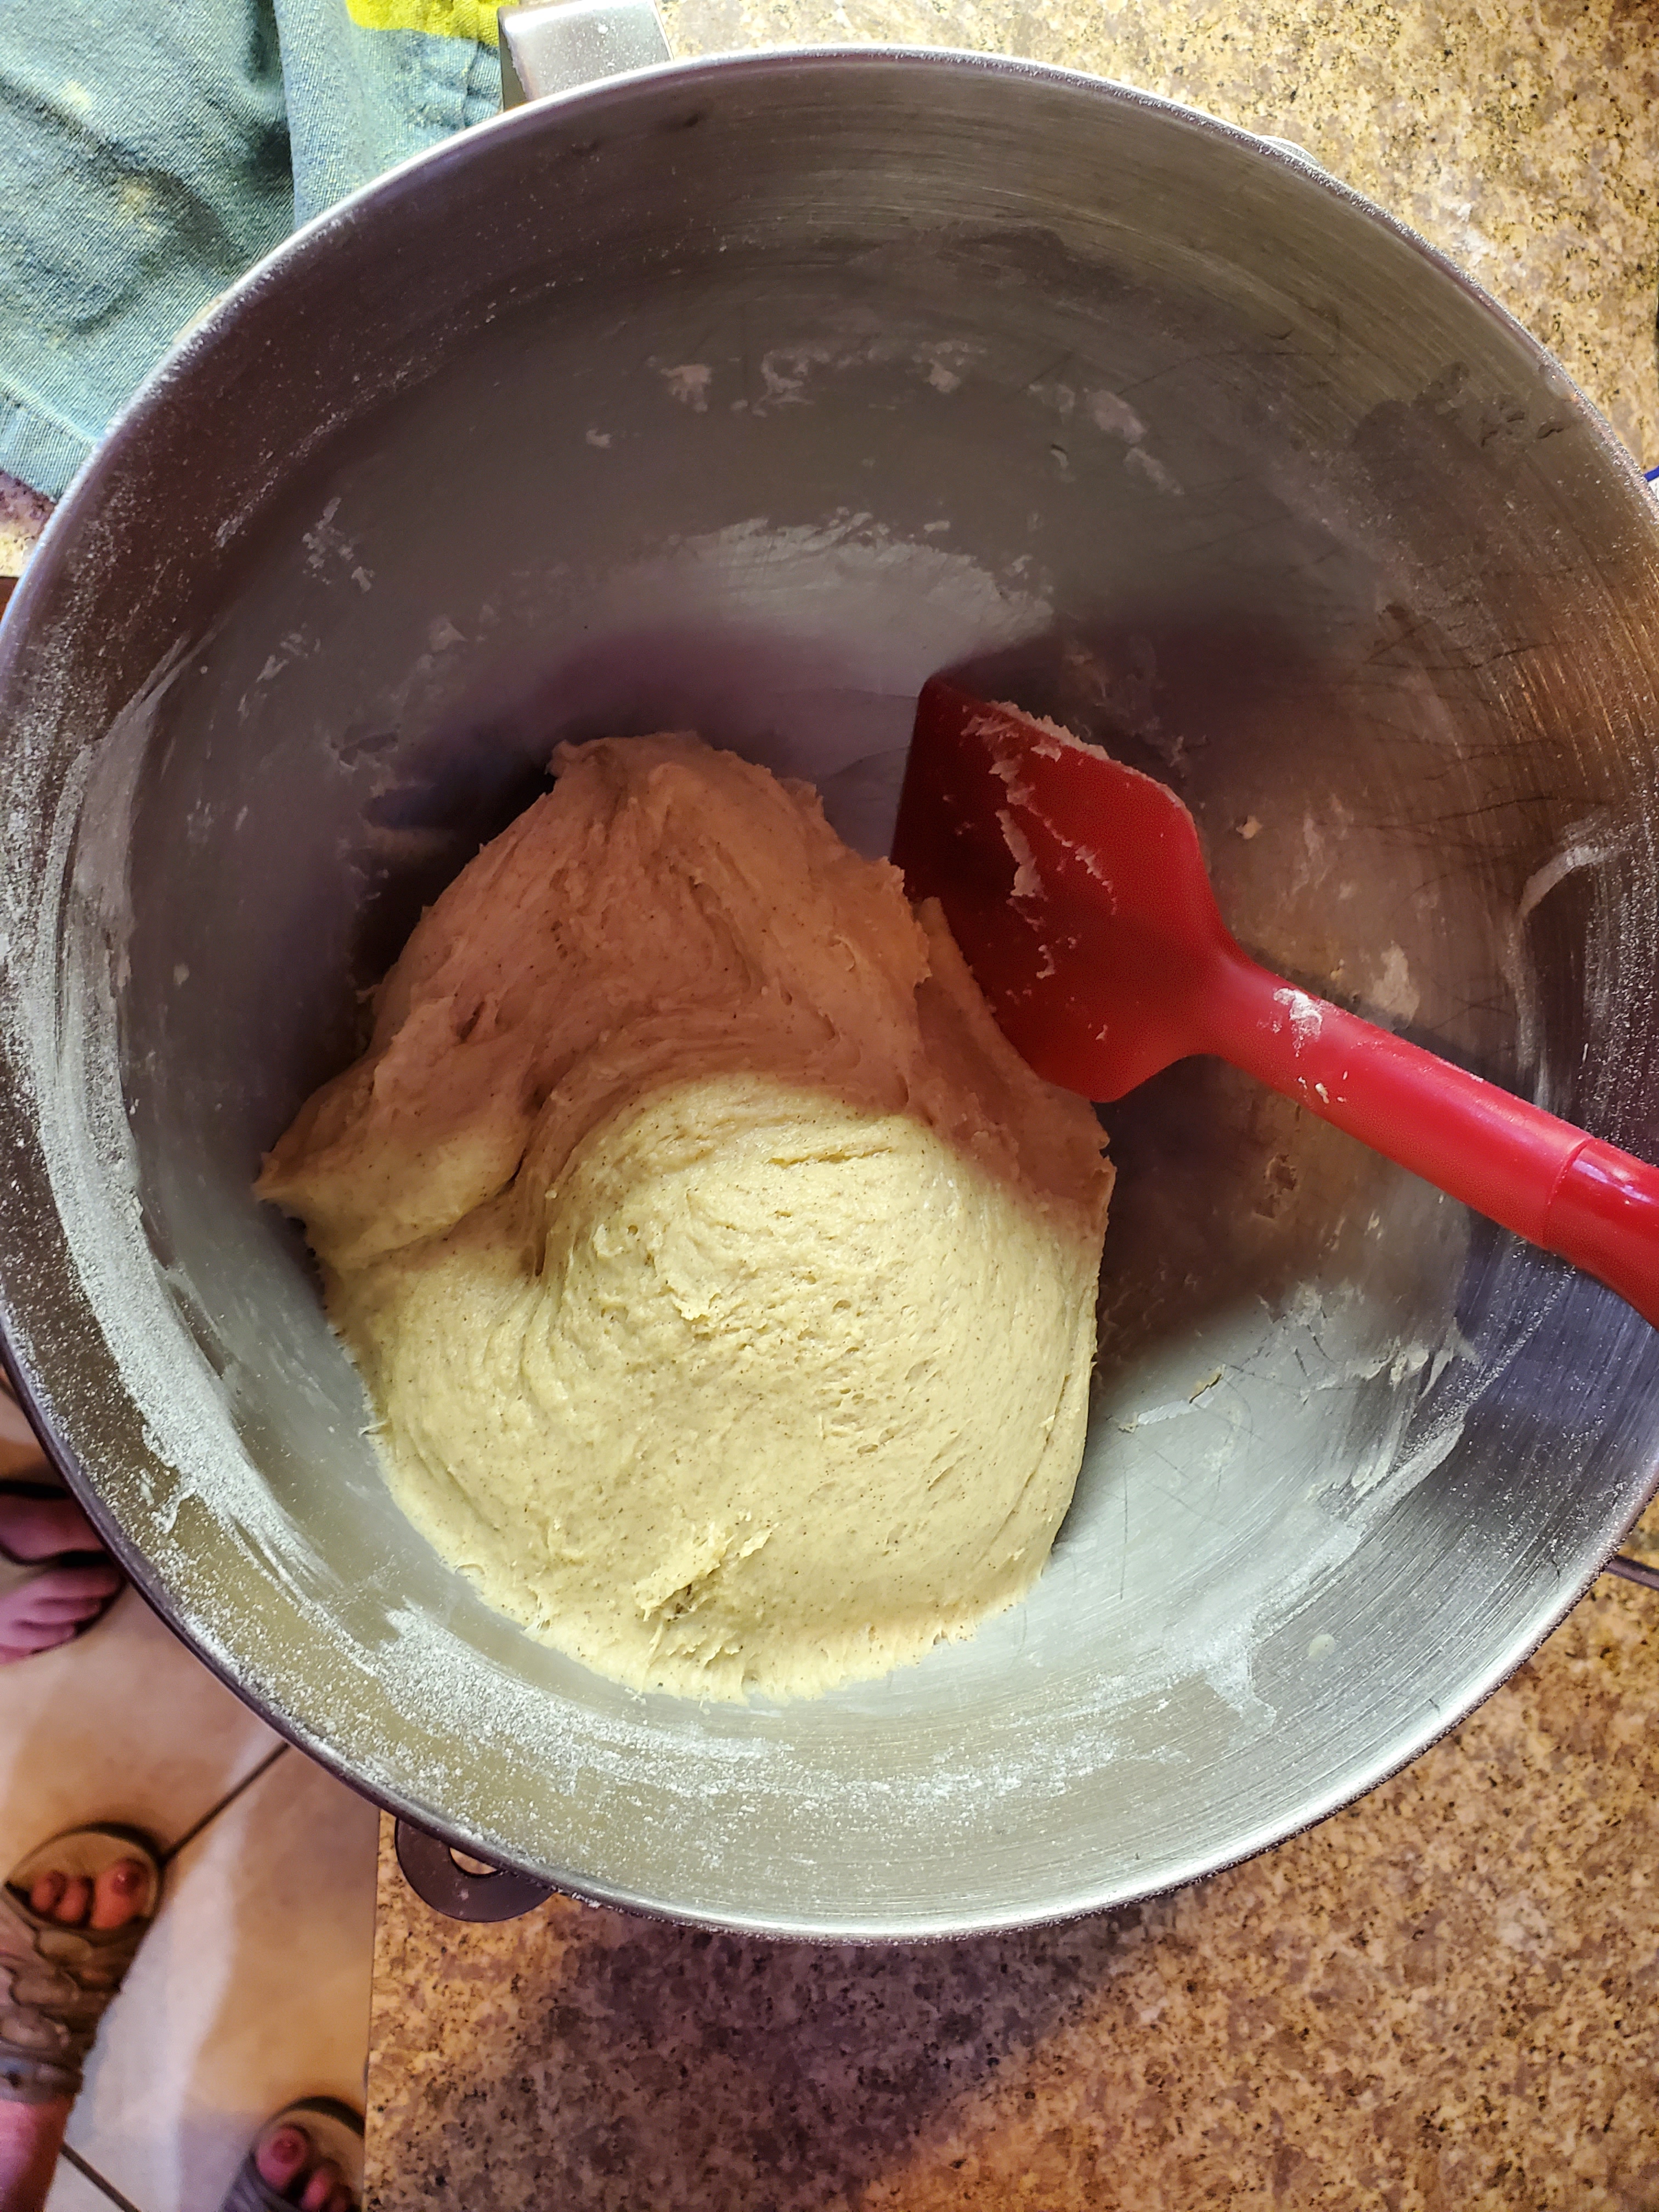
By now, the yeast should be ready. In a stand mixer with a dough hook, mix together the Flour (3 cups), Cinnamon, and Salt. Mix the yeast into the dry ingredients, until lightly blended. Now, make sure your milk mixture is cooled enough to touch (less than 110 degrees Fahrenheit). If the milk is too hot, you run the risk of killing your yeast. Add the milk to the flour mixture, and with a dough hook, let it mix for 2 – 3 minutes. Mix in eggs, one at a time, then knead for 4 – 6 minutes. Keep an eye on the dough. You want the dough to be slightly wet and somewhat sticky. It should mostly gather on the dough hook and stick slightly to the bowl. Until the dough is the right consistency, mix in additional flour a tablespoon at a time. I found that I needed about a ½ cup more of flour to get the dough right.
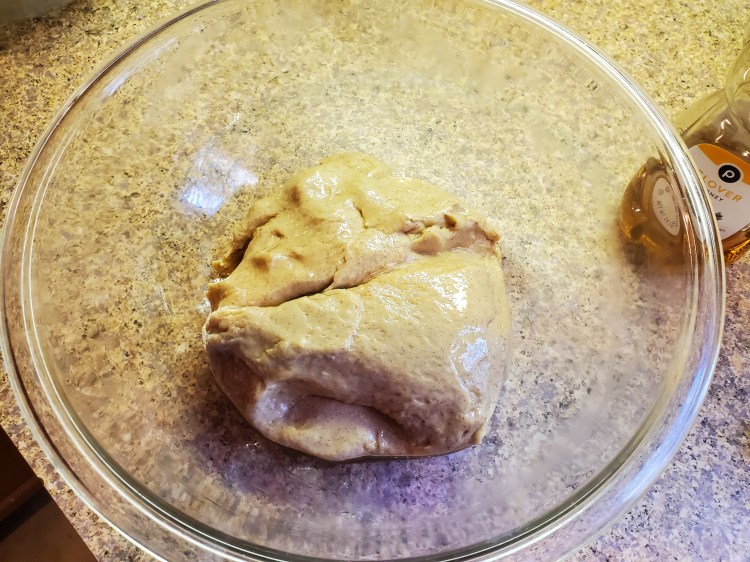
When the dough is the right consistency, place the dough in a bowl coated with oil. Swipe the dough ball around the bowl, then turn the dough over so that the oiled side is up. Cover the bowl and place in a warm place for about an hour. As I have mentioned before, I like to use the oven to let my dough raise. Basically, turn on your oven for a minute or two and turn it off. The goal is to get the oven heated to between 80 – 100 degrees, which makes a good environment for dough to raise. Do not put your dough in an oven that is too hot for you to touch the oven shelf with your bare hand.
After 45 minutes of letting your dough raise, prepare the filling. The filling is simple, melted butter and honey. Melt the butter in a saucepan on the stove or in a bowl in the microwave. When the butter is melted, mix in the honey and remove from heat. Set aside and let cool.
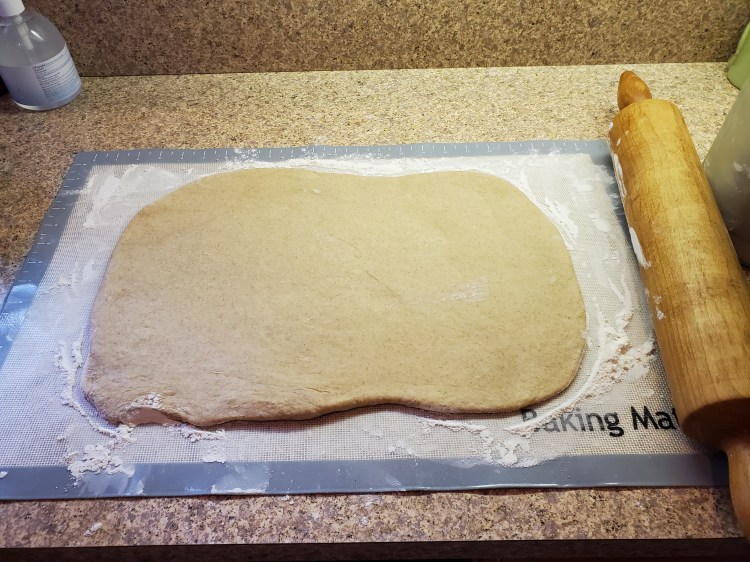
When your dough has doubled in size, roughly an hour, dump the dough out onto a lightly floured surface. Using a rolling pin, roll the dough out to a thickness of about ½ inch. When I did this the rectangle was about 15 inches by 10 inches. Don’t roll the dough out too thin.
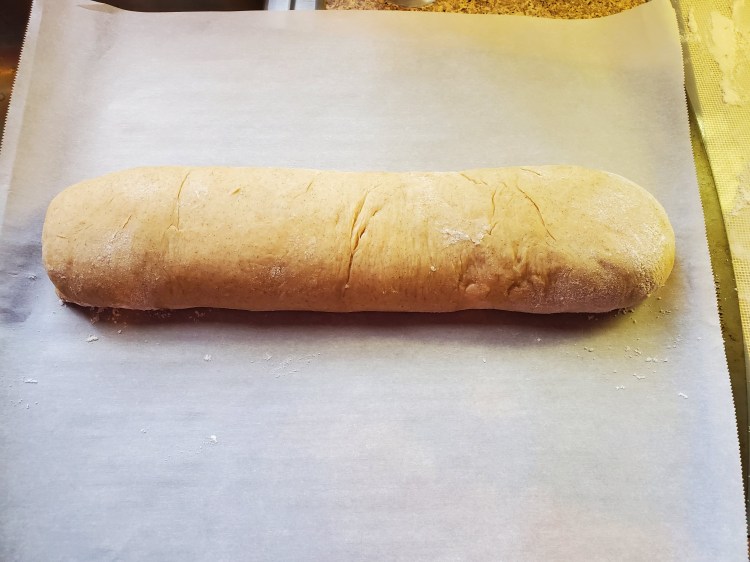
Once the dough is rolled out, brush on your filling using a pastry brush. You just want enough to wet the surface. It’s ok if you have left over filling. We can use the leftover filling for the glaze. When you have covered the surface of your rectangle, roll the dough across the length. When the dough is rolled, I pinched the dough together at the seam to create a seal. I also pinched the ends. Place your log on a pan, cover with a towel, and place the pan in the fridge for 30 minutes. The refrigeration makes it a little easier to cut the individual rolls.
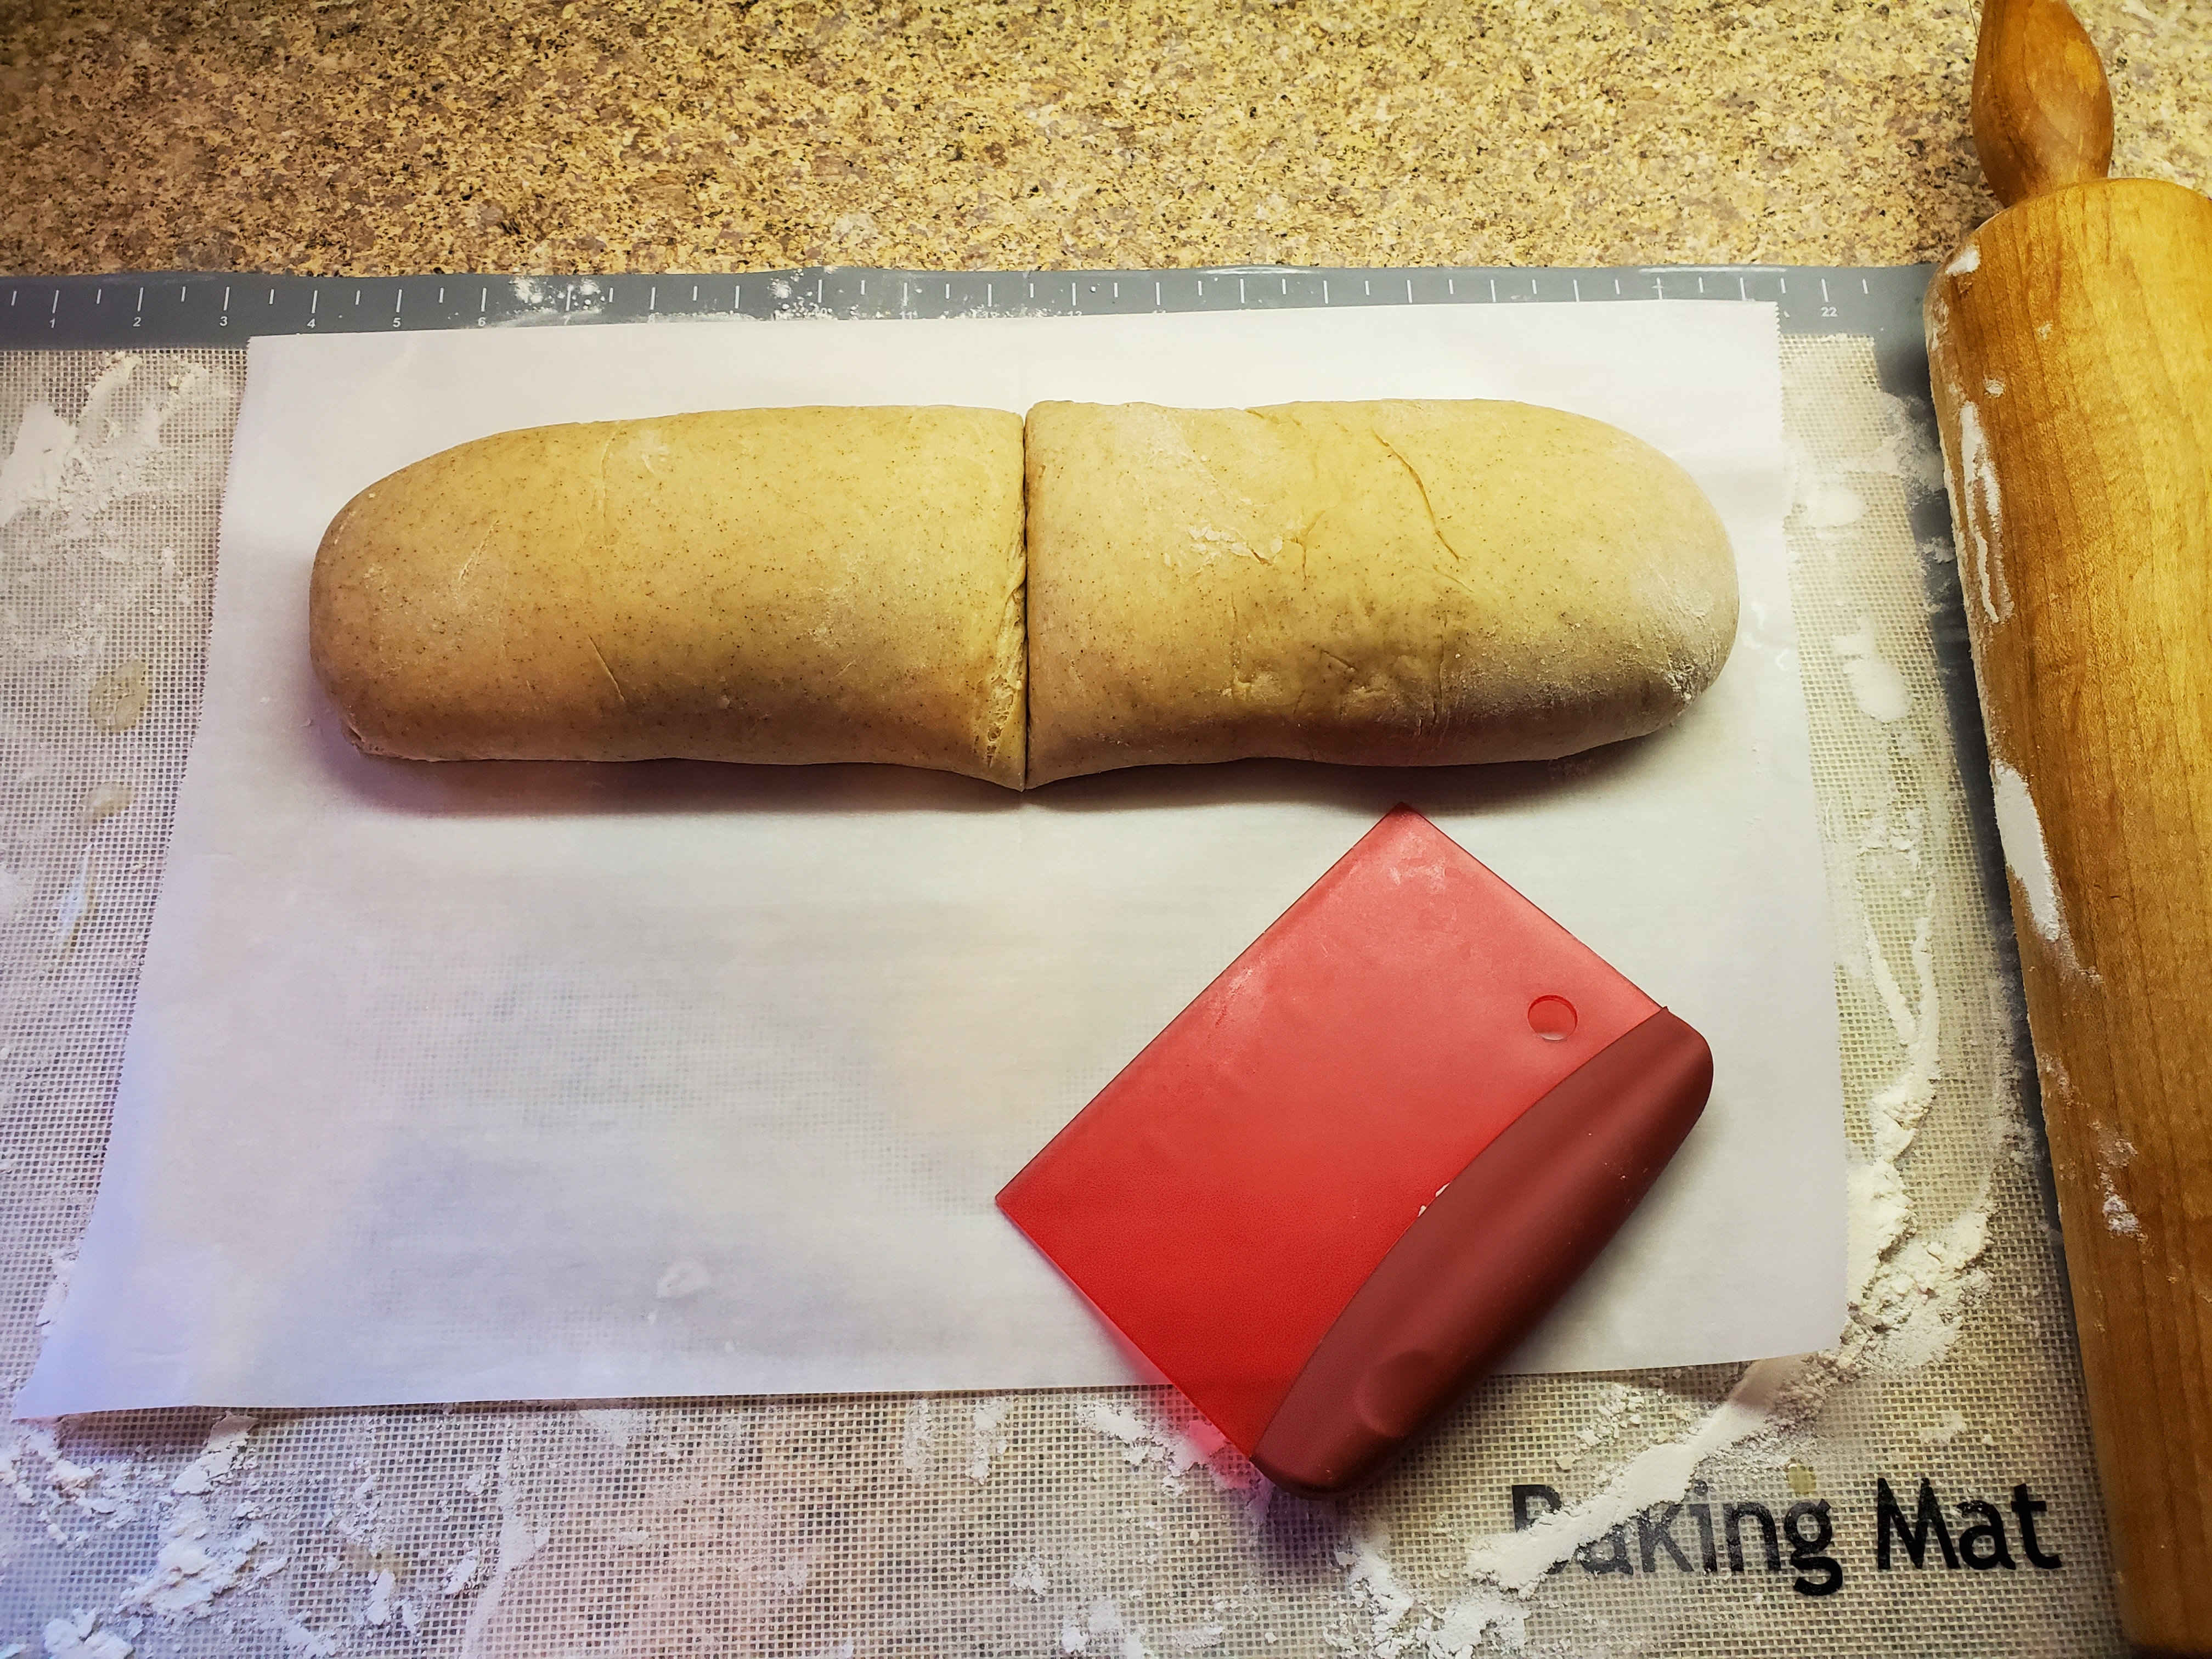
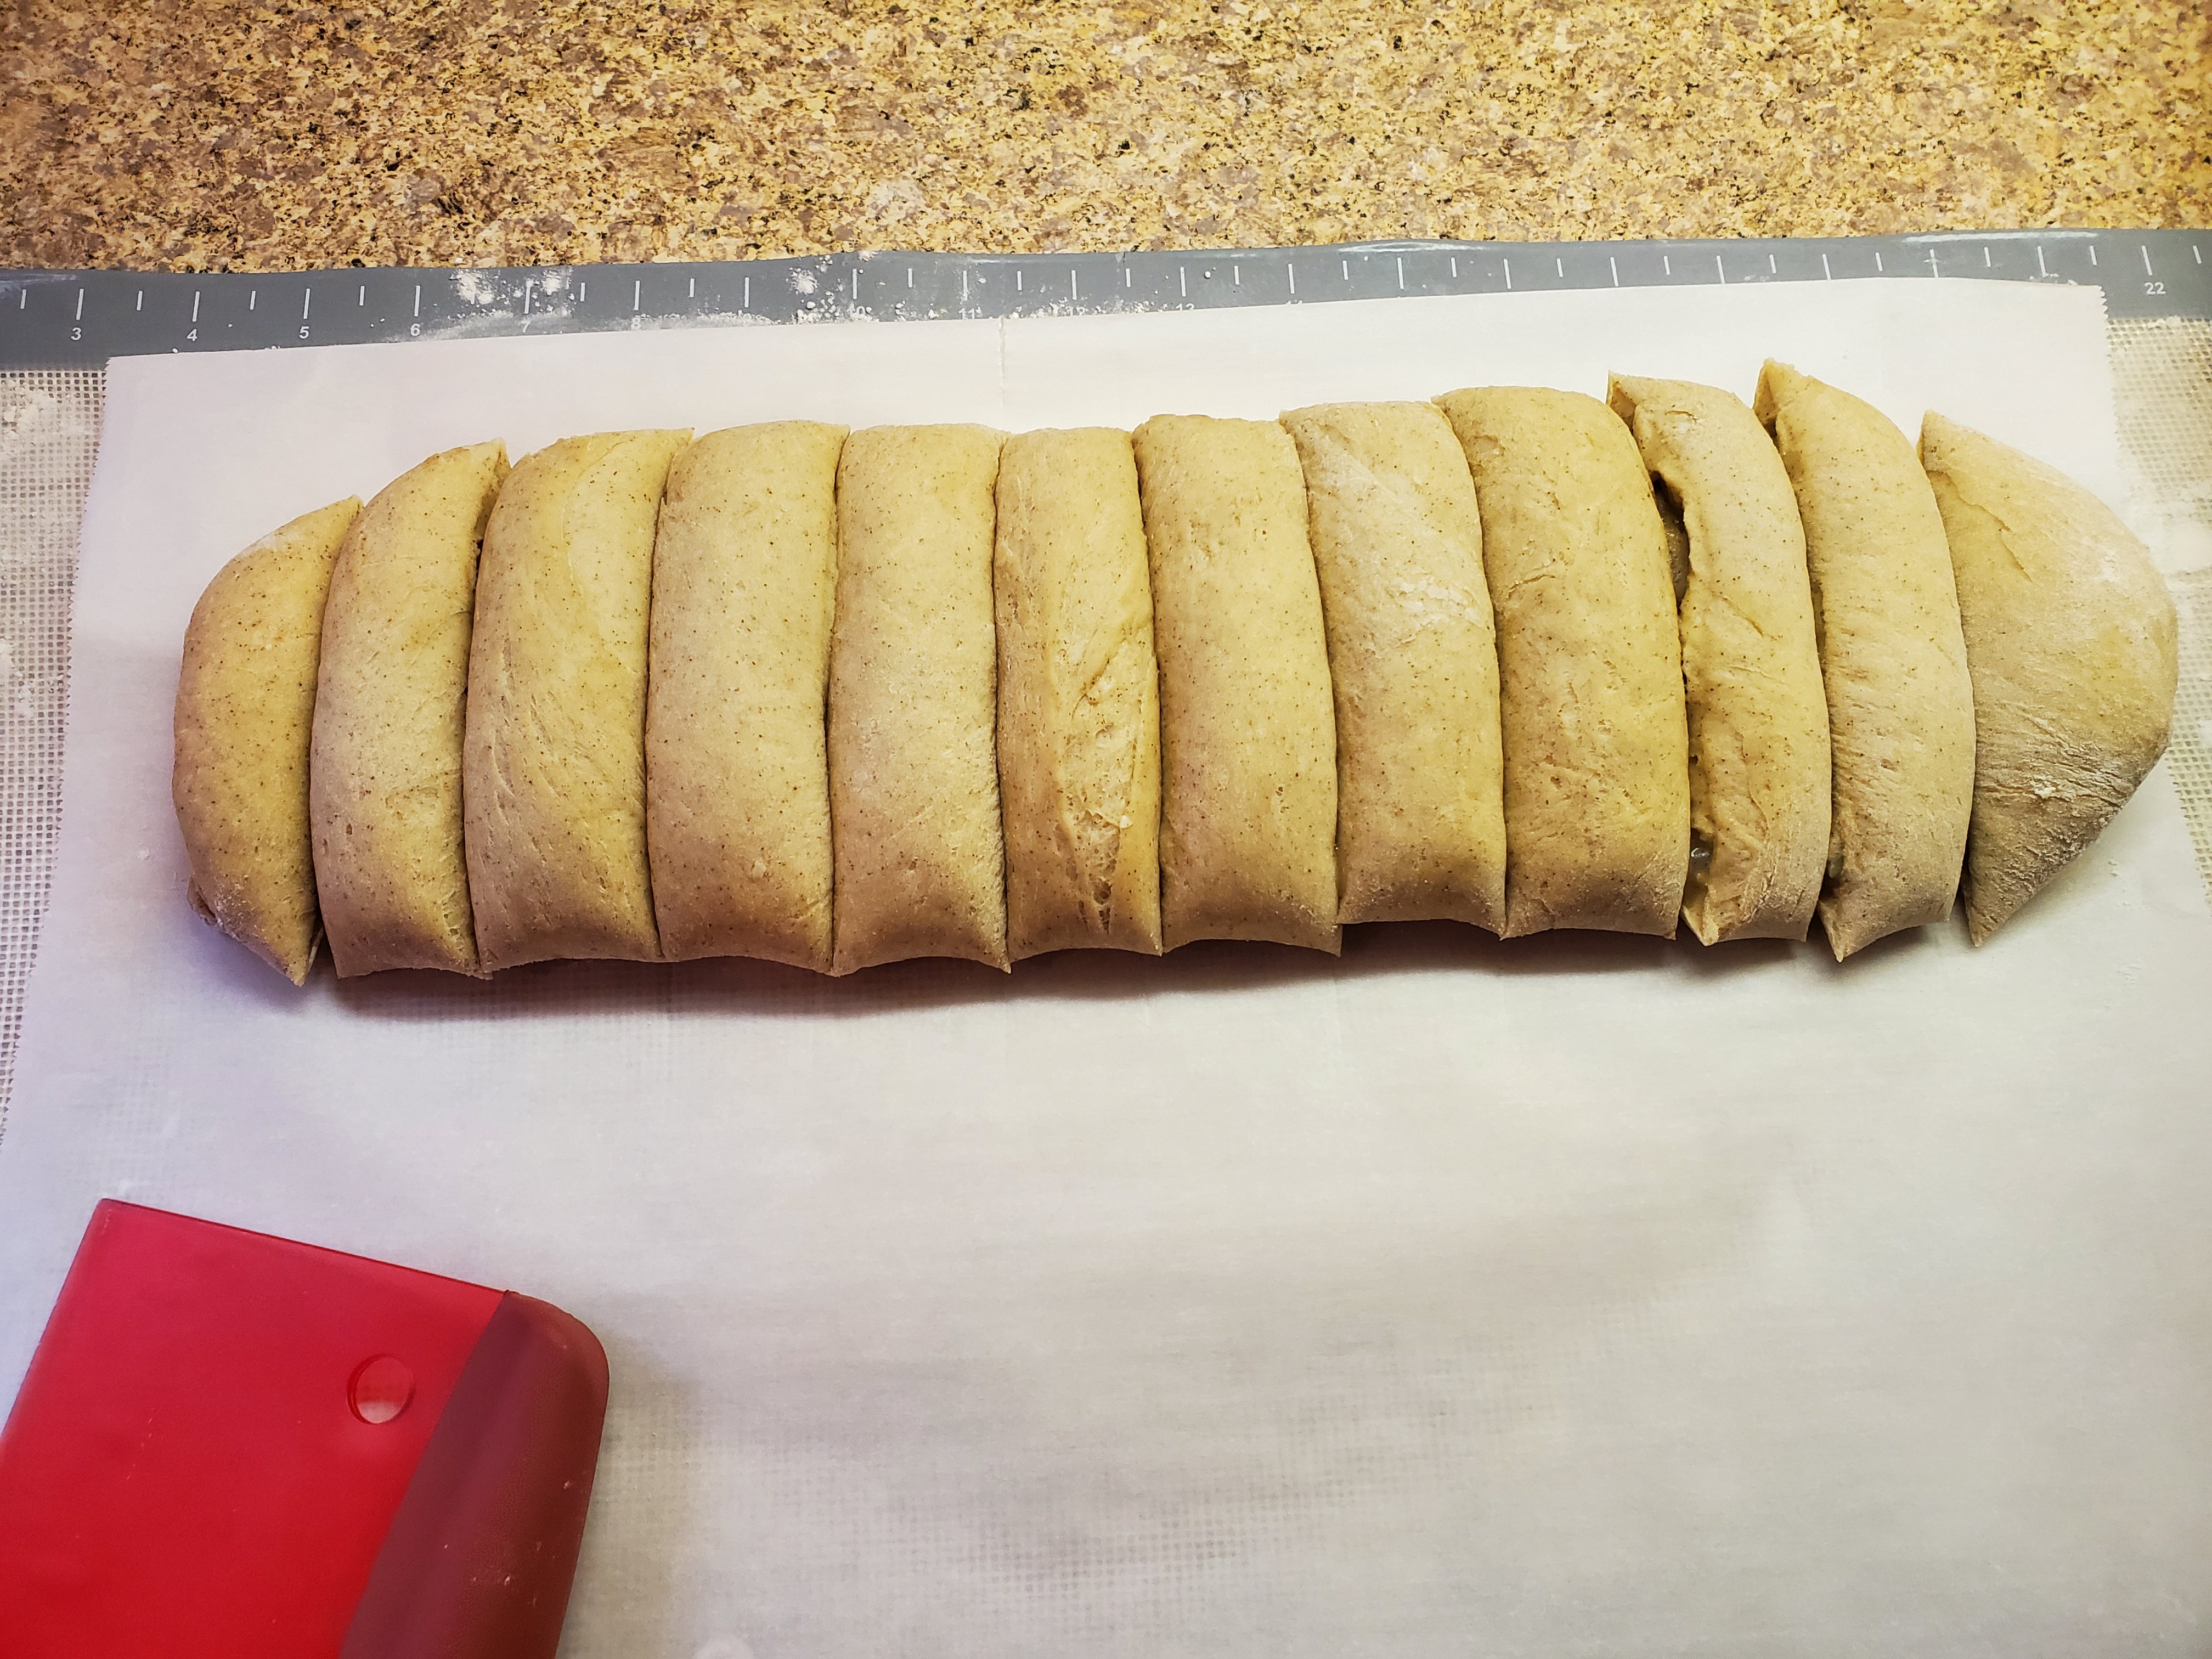
After your log has been refrigerated for about 30 minutes, it’s time to cut. Place the log onto a surface that you can cut on. I used a kitchen scraper to cut individual rolls, but in the past, I have used a serrated knife with a sawing motion to cut rolls. This recipe should make 12 rolls, so I cut the log in half, then I cut the halves in half, making quarters. This is a pretty easy way to keep things pretty even. Each of the quarters is then cut into three equal parts.
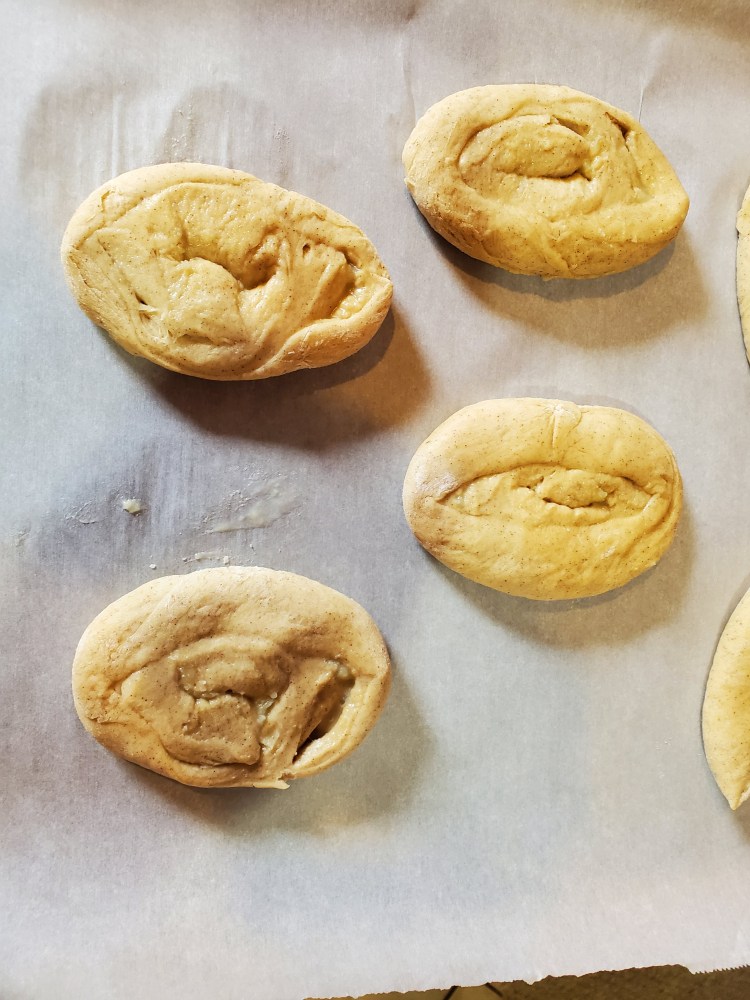
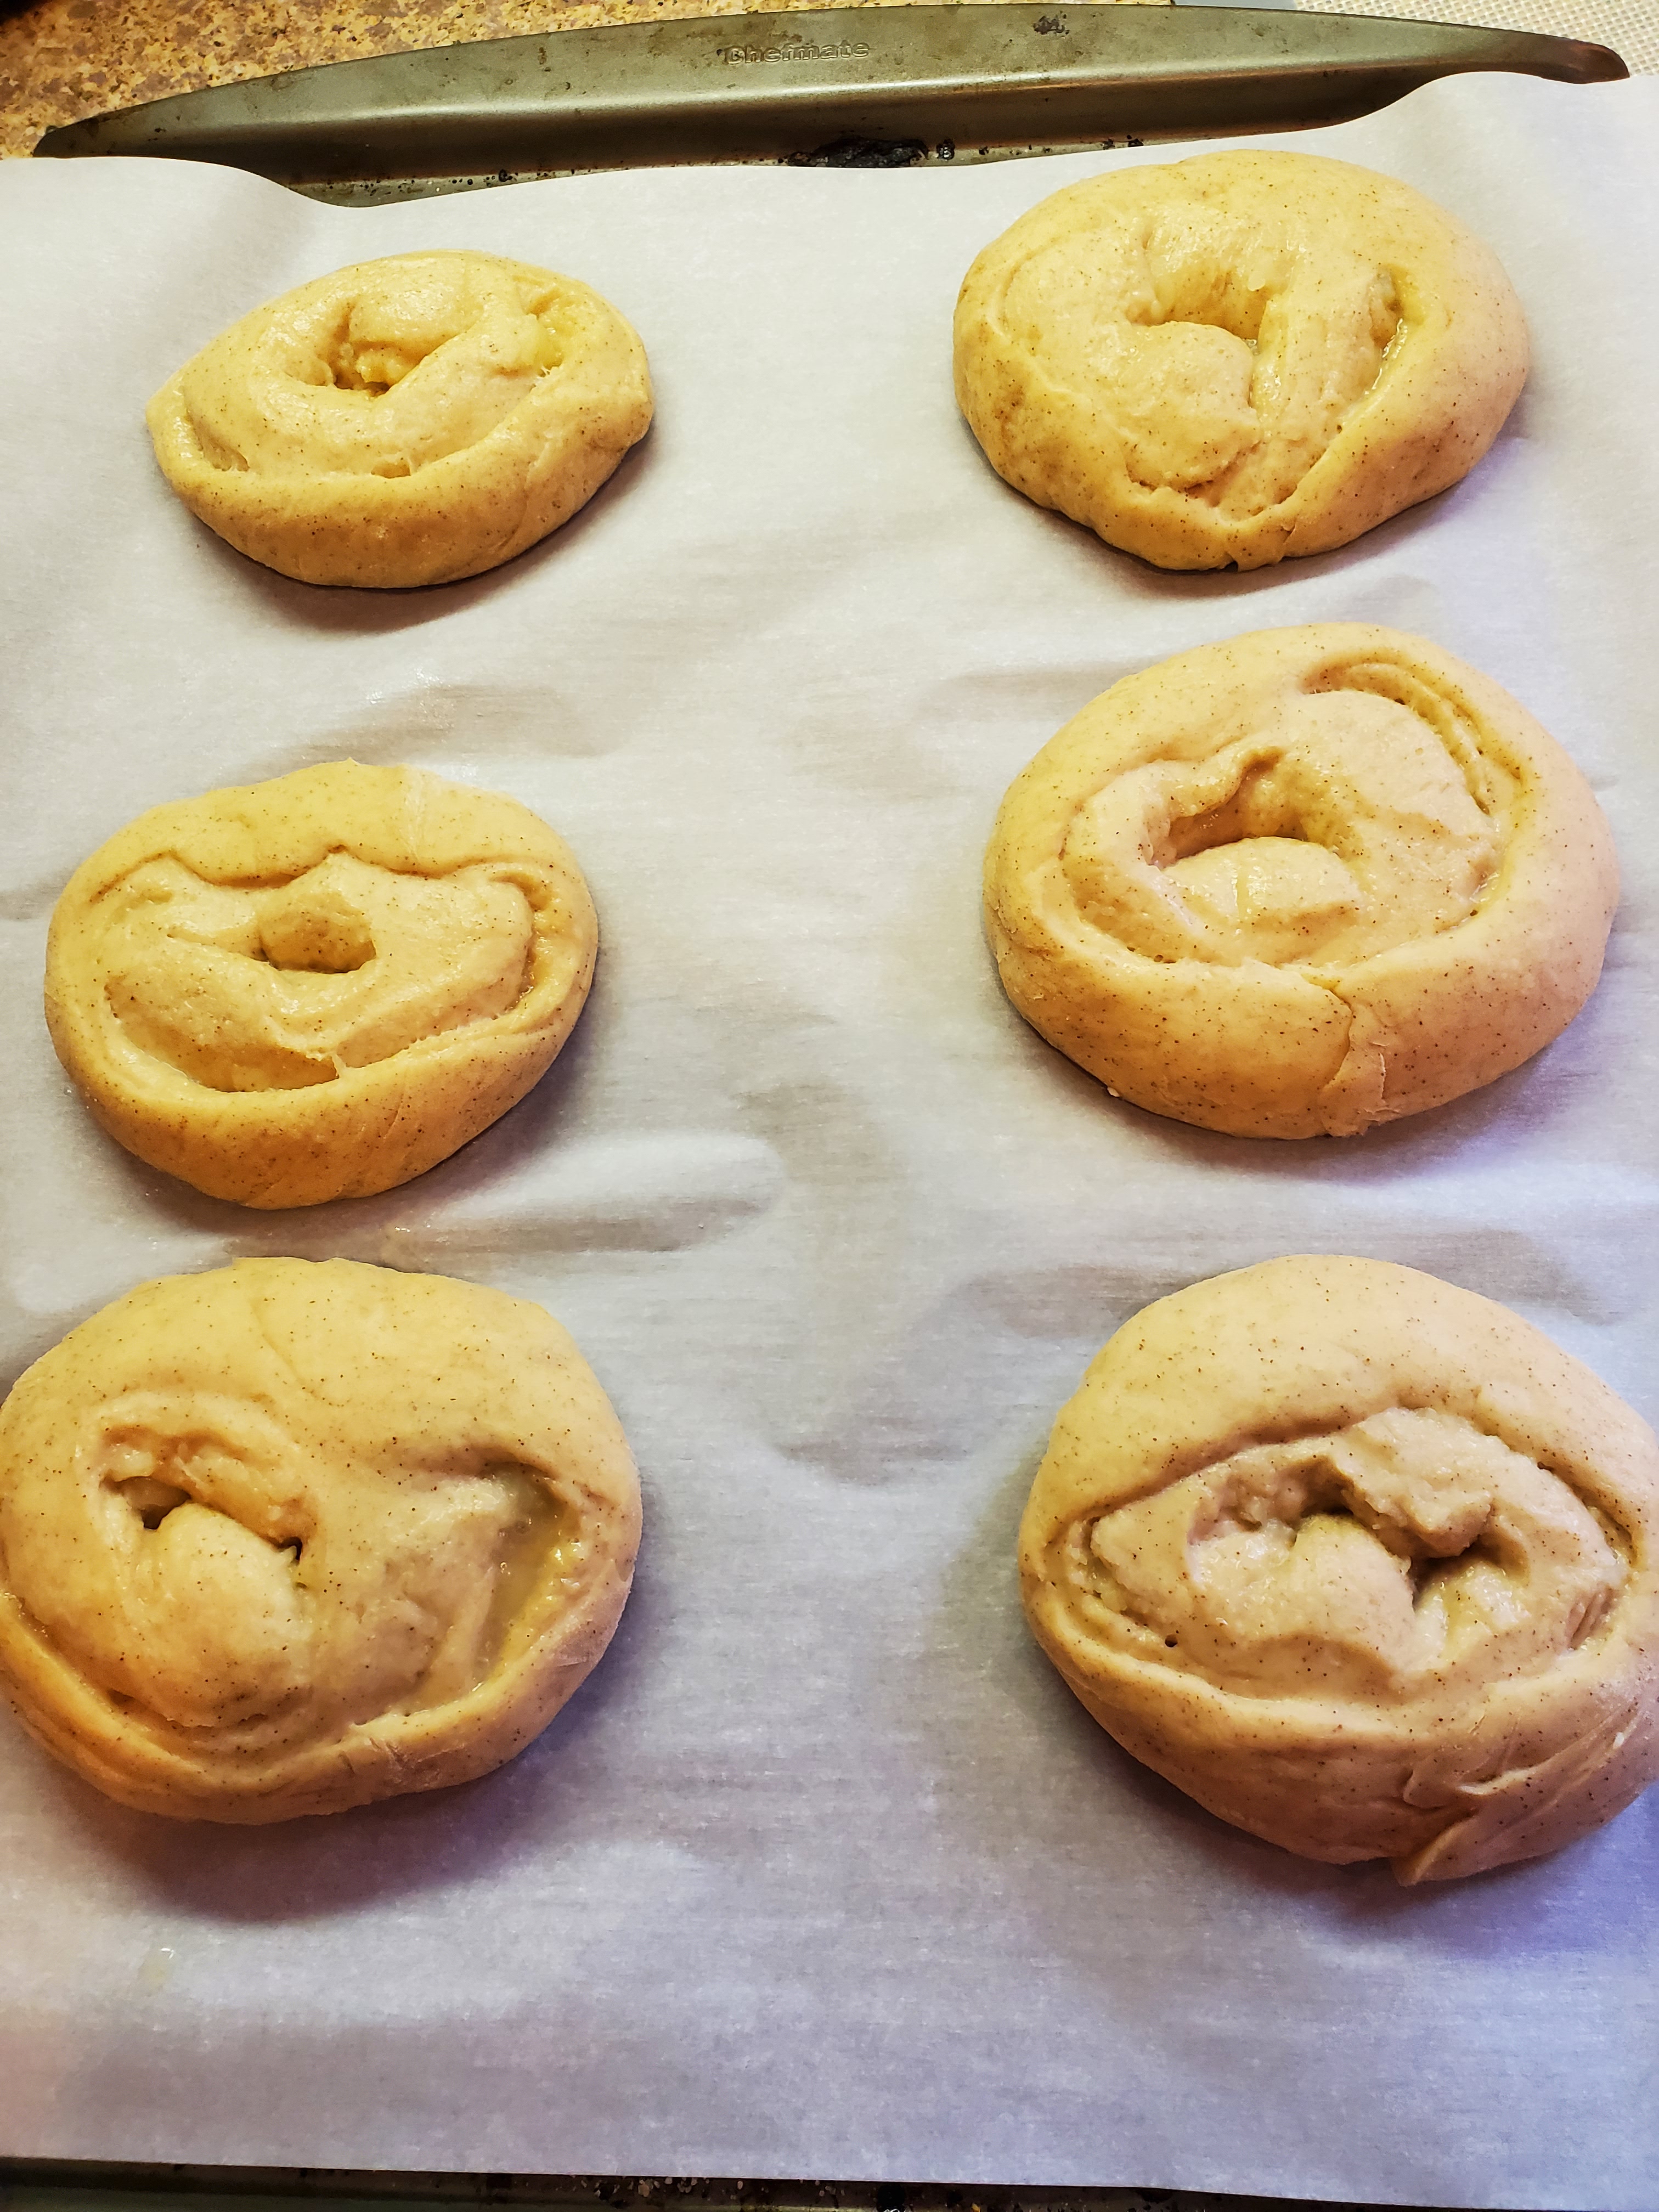
Take each of the individual rolls and place them on a baking pan. For the end pieces, place them end side down. I like to line the pans with parchment paper to save on the clean up. Place the rolls 2 – 3 inches apart. Using the palm of your hand, flatten each individual roll to about half the original height. At this point, they should start to look like honey buns. Cover the rolls with a towel and let raise for 30 minutes. You can use the warm oven trick for this raise.
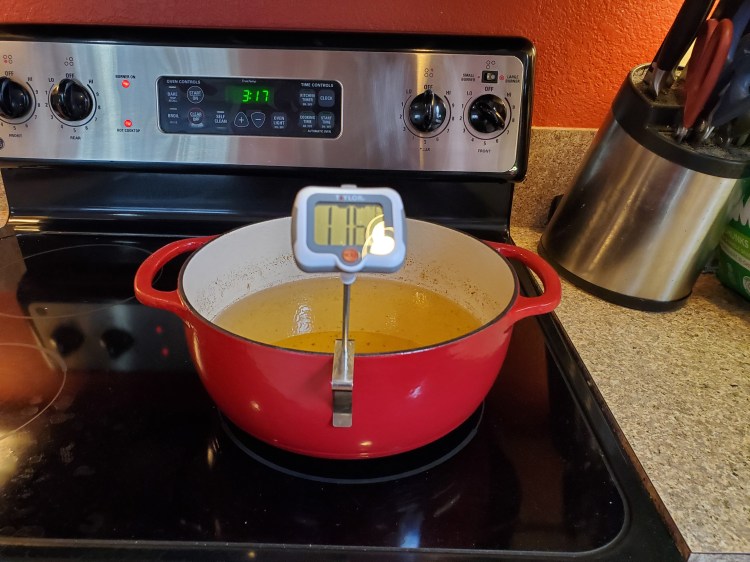
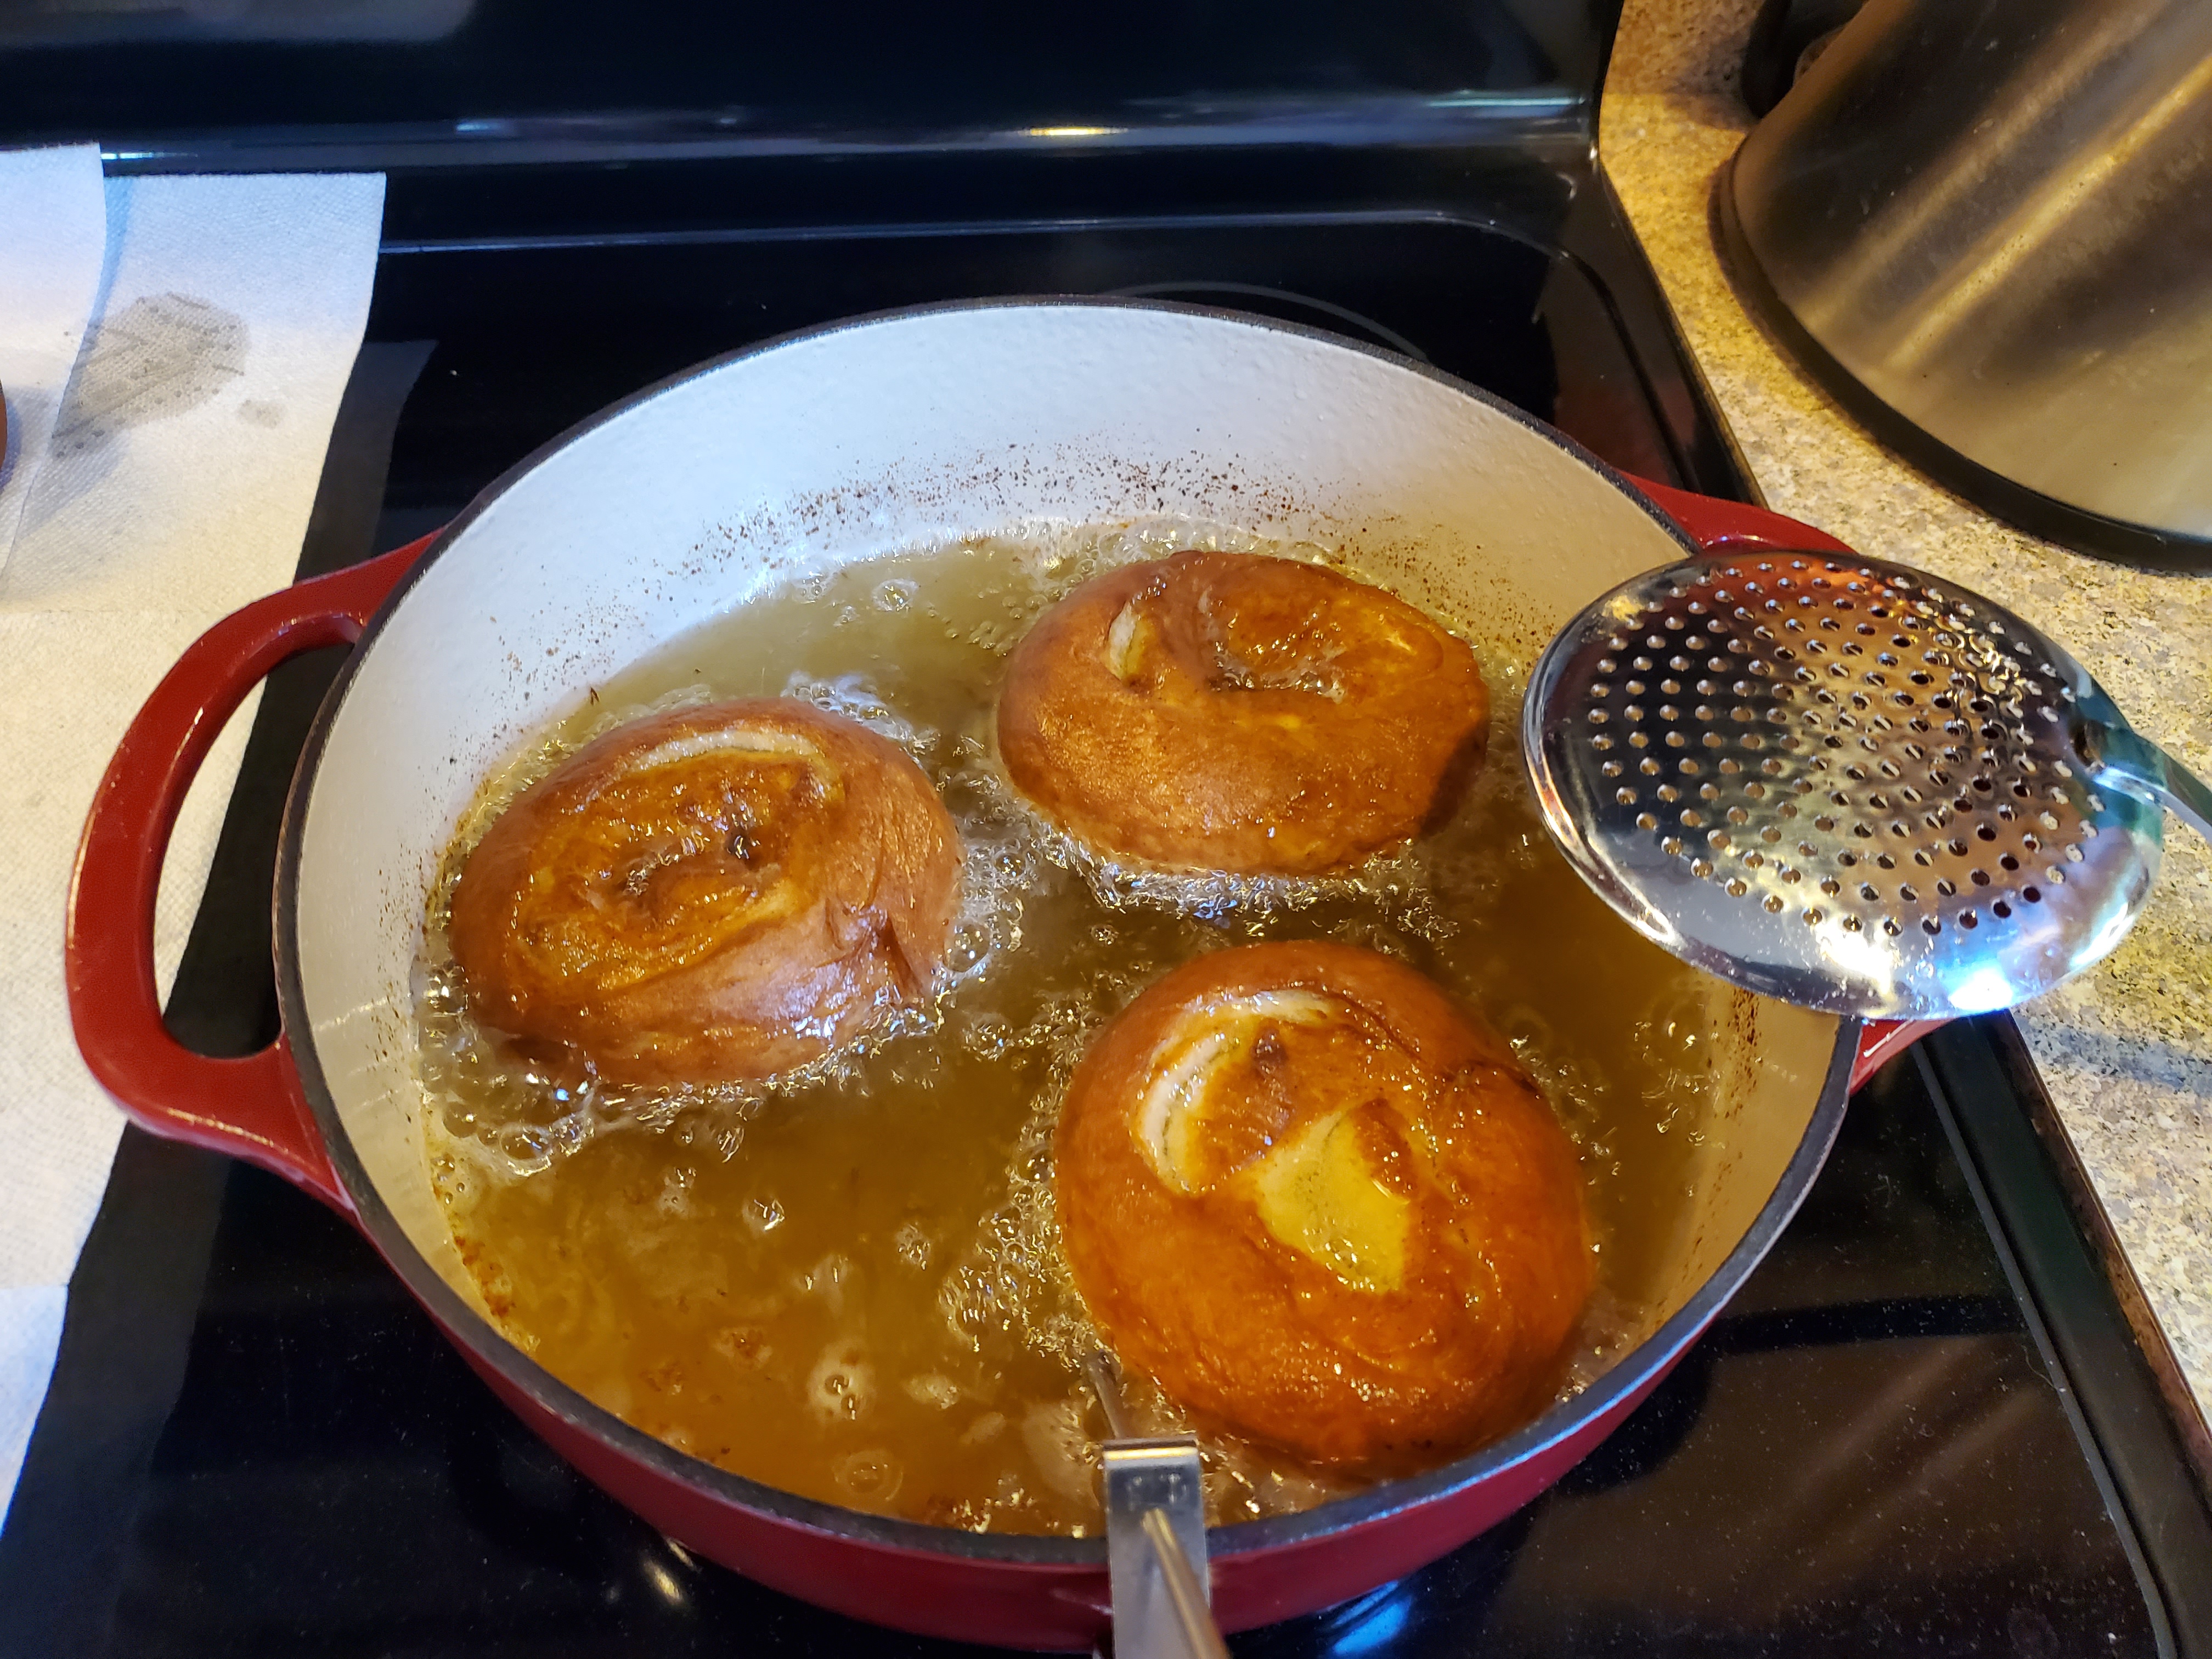
While the rolls are raising, you should start to heat your oil. If you don’t have a fryer, I recommend using a heavy pot on your stove at a medium-high heat. I am using a dutch oven, which is cast iron coated in enamel. The cast iron helps maintain a consistent temperature but takes a while to heat up (about 30 – 40 minutes). I use a digital thermometer to monitor the oil temperature, trying to make sure the oil doesn’t get over 375 degrees. Don’t let the thermometer touch the bottom of the pan, but make sure it’s in the oil.
When the oil is at least 365 degrees Fahrenheit and the rolls have raised for 30 minutes, it’s time to cook. Gently lift the rolls off of the baking sheet and lower them into the oil. Don’t drop them in the oil and make a splash, you don’t want to get burned. You want to cook them 3 at a time. Any more than 3 may cool the oil too much or make your pot too crowded. Cook them for about 2 minutes, or until golden brown, then flip them. After flipping, cook for another 2 minutes, or until the side is golden brown. Using a slotted spoon, remove the roll and place on a paper towel covered cooling rack. Wait for the Oil to get back to at least 365 degrees before cooking the next batch.

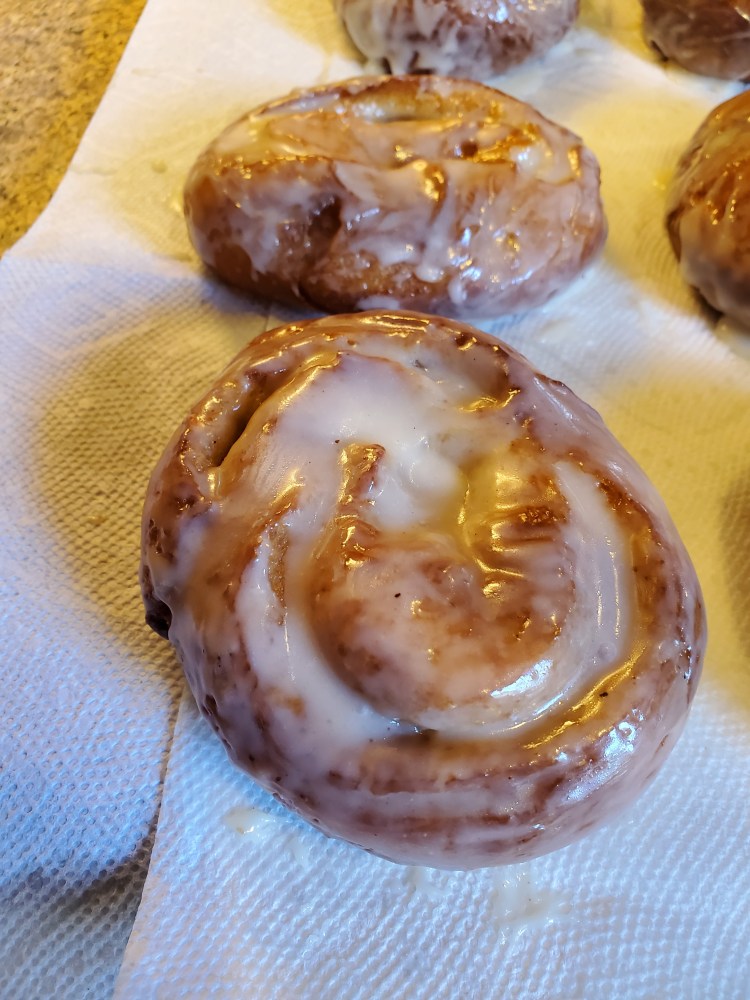
After cooking all of the rolls, it’s time to mix the glaze. If you have some filling left over, you can use this as your starting point for the glaze. Melt in the additional butter to the glaze, then stir in the honey. Stir in the powdered sugar. It will be thick and lumpy, at this point. Mix in a ½ teaspoon of water at a time, until the glaze is smooth and slightly runny. If you want additional flavor, add a skosh of nutmeg or cinnamon. Make sure that you add just a dash, nutmeg can be a little over powering.
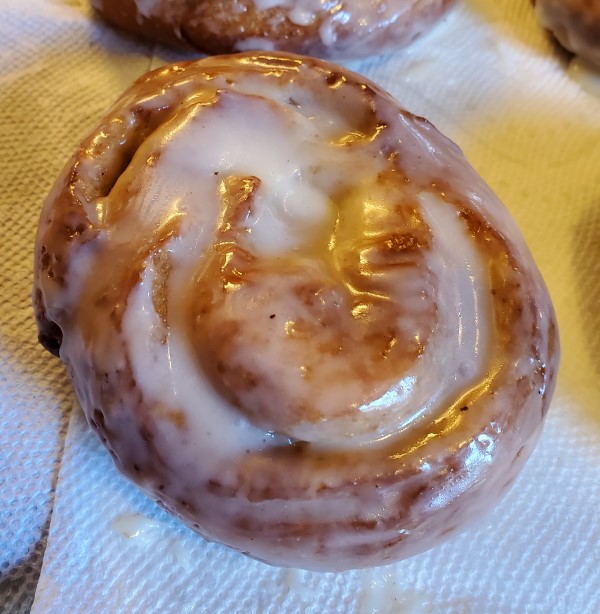
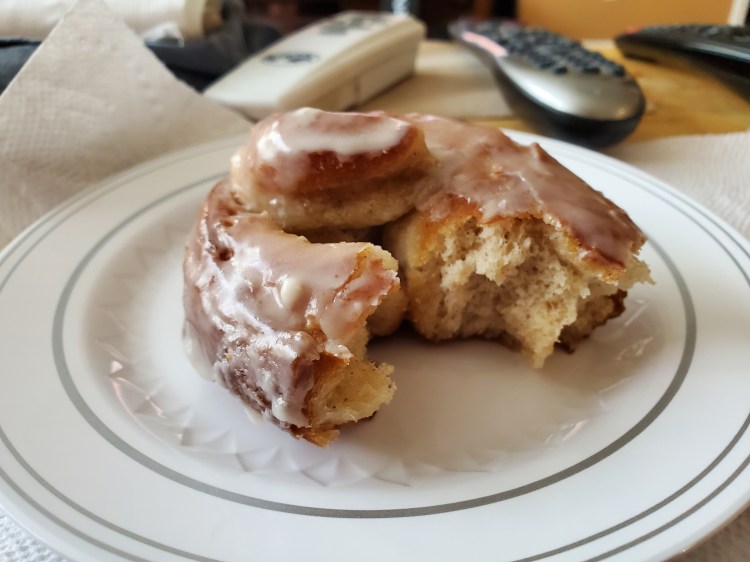
Viola, you have a finished honey bun. The outside of mine had a light crust with a soft somewhat doughy interior. They were absolutely delicious.
I hope you enjoyed this write up.
Cheers!
Kappy
For those that like to print out recipes, here is the recipe with abbreviated steps. Hope this helps.
Honey Buns Recipe
Equipment
Measuring Spoons
Measuring Cups
Spatulas or Wooden Spoons
Bowls (Small and Large)
Stand Mixer with Dough Hook
Saucepan
Dutch Oven or Other 6 Quart Pot
Slotted Spoon (Not Plastic)
Cooling Rack Covered with Paper Towels
Pastry Brush
Stove/Oven
Dough Ingredients
3 cups all-purpose flour + 1/2 cup in reserve
2 1/4 Teaspoons of Dry Active Yeast (or one package) (Warm Water and Granulated Sugar)
1 teaspoon cinnamon
3/4 cup milk (scalded)
1/3 cup honey
1/4 cup butter
1/2 teaspoon salt
2 eggs
Filling
3 Tablespoons butter
1 ½ Tablespoon of Honey
Glaze
4 Tablespoons butter
1 ½ Tablespoons Honey
2 Cups Powdered Sugar
Hot water to thin as needed
Skosh of nutmeg or cinnamon
Cooking
2 -3 Quarts of Vegetable Oil
Abbreviated Instructions
- Activate yeast
- Mix dry ingredients
- Scald milk, mix in honey, butter, salt (let cool to 100 degrees)
- Add to dry ingredients and mix with dough hook
- Add eggs one at a time
- Knead until dough slightly sticky, adding flour to make dough less sticky
- Raise 1 hour
- Melt Butter and Honey together for Filling
- Roll out to rectangle (1/2 to ¾ inch thickness)
- Spread filling evenly and roll dough
- Put roll on pan and refrigerate for 30 minutes
- Cut roll into 12 slices
- Place on pan and flatten
- Raise 30 minutes
- Fry at 365 for 2 – 3 minutes per side or until golden brown
- Cool on paper towel covered cooling rack
- Mix glaze
- Glaze rolls
- Yum

Looks good Jeffro. I also remember the plastic wrapped honey buns – I think Little Debby had a line of those too. Yours look better.
LikeLike