
Total Preparation Time – About 10 Minutes
Time Spent Waiting – None (Chilling, Cooling, Resting)
Cook Time – About 2 – 3 Minutes per 2 Pizzelles
Makes – About 36 Cookies
Growing up, my mom bought a Pizzelle Iron from an Italian Cooking Store in Ohio. A couple of times a year, she would pull the Pizzelle Iron out and we (Mom and my Brothers) would make pizzelles. It was always a big treat, and she would make enough to last a couple of weeks. It’s hard to believe that was a tradition started almost 40 years ago. Anyway, pizzelles were a part of my youth, and Mom is the one that gave me my own Pizzelle Iron. Mind you, it’s the Cuisinart version, which isn’t as grand as my Mom’s was, but it gets the job done.
The neat thing about Pizzelles is they are impressive looking, but really easy to make. Everyone oohs and aahs over the intricate decorations and the crispy flavorful cookies. Even more fun, you can flavor pizzelles with vanilla, anise extract, almond extract, orange zest, etc, which is as simple as swapping out the flavoring. For this recipe, I’m making something a little more complex, a chocolate pizzelle.
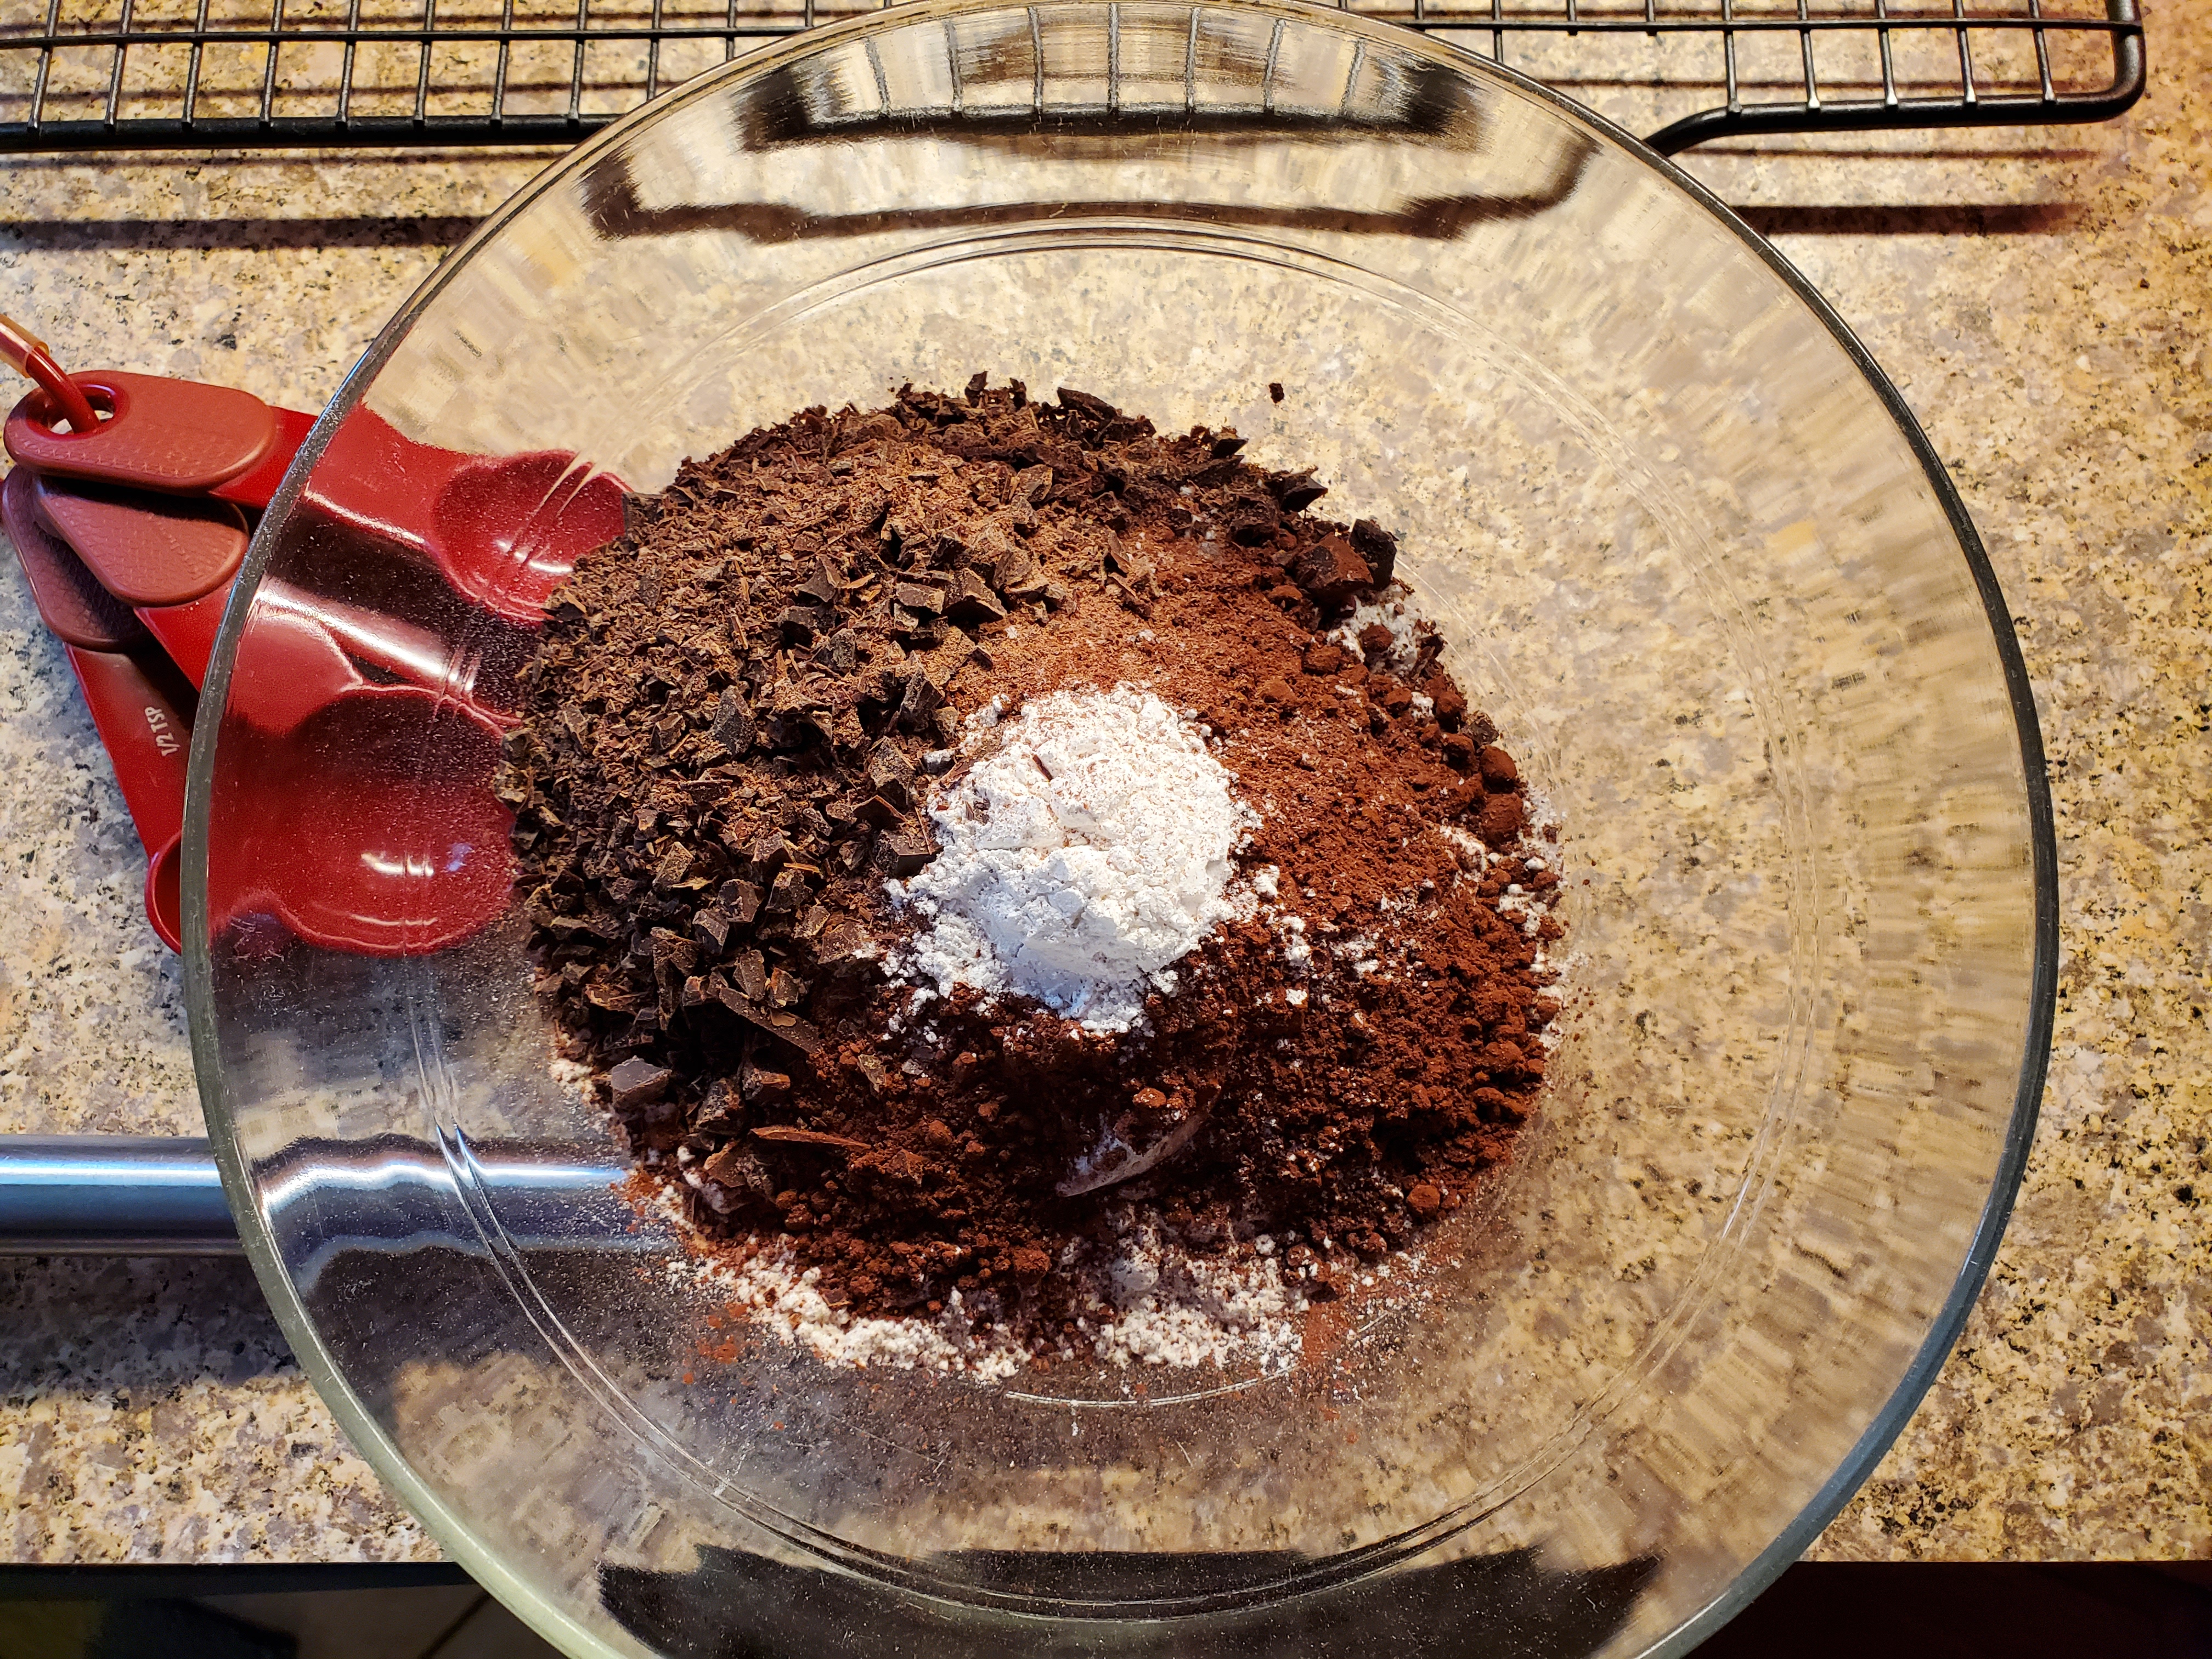
To start, I used a Ghirardelli Bittersweet Chocolate Bar (2 – 3 ounces) and chopped it medium to fine. The chocolate can cause the pizzelles to stick to the iron, so I strongly encourage using a non-stick spray on the iron before cooking.
Next, whisk together the chopped chocolate, ¼ cup of dutch process cocoa, 2 teaspoons of baking powder, and 1 ½ cups of all purpose flour.

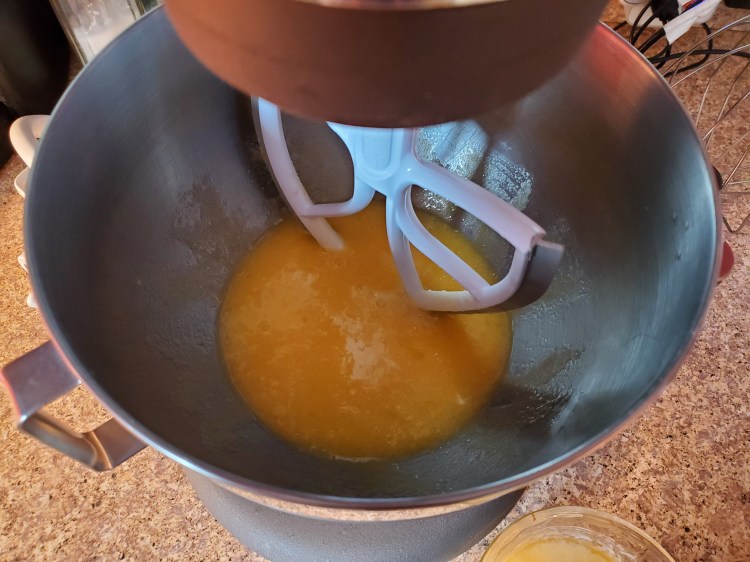
In your stand mixer, with the paddle attachment, beat together the 3 eggs and 1 cup of granulated sugar. Mix until foamy. Then add in 1 tablespoon of vanilla and 1 stick of melted butter.
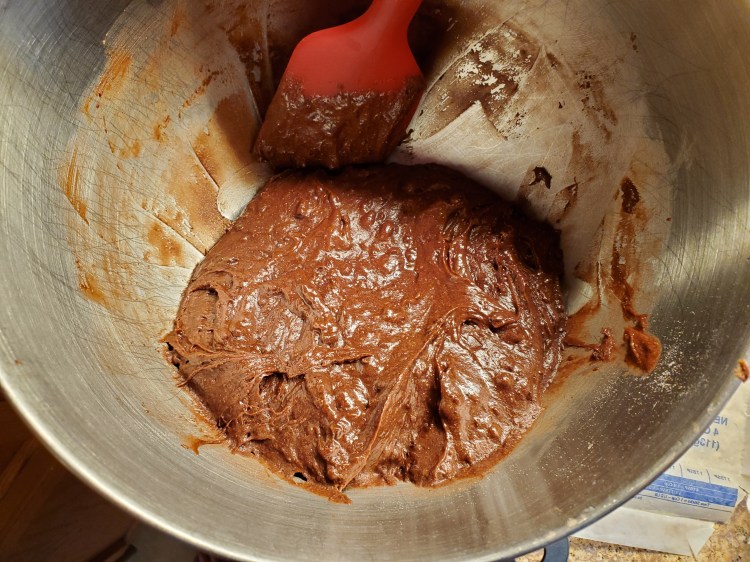
Now, mix in the flour mixture a little at a time. Mix until combined, but don’t over mix. At this point, you should be able to make pizzelles, but if you like, you can cover the dough and refrigerate for 30 minutes. Refrigerating will make the dough easier to scoop out.
As I mentioned before, the bittersweet chocolate chunks can cause the pizzelles to stick to the iron, so you should take a non-stick spray (or oil) and reapply to the iron periodically.
Heat up the iron (per your iron’s instructions) and place the dough in the middle of each of the circles on the iron. The amount of dough will vary by iron. My iron takes about 1 heaping teaspoon of dough, per circle. Close the lid and cook per your iron’s instructions (about 2 minutes). When they are done, remove and place on a cooling rack.
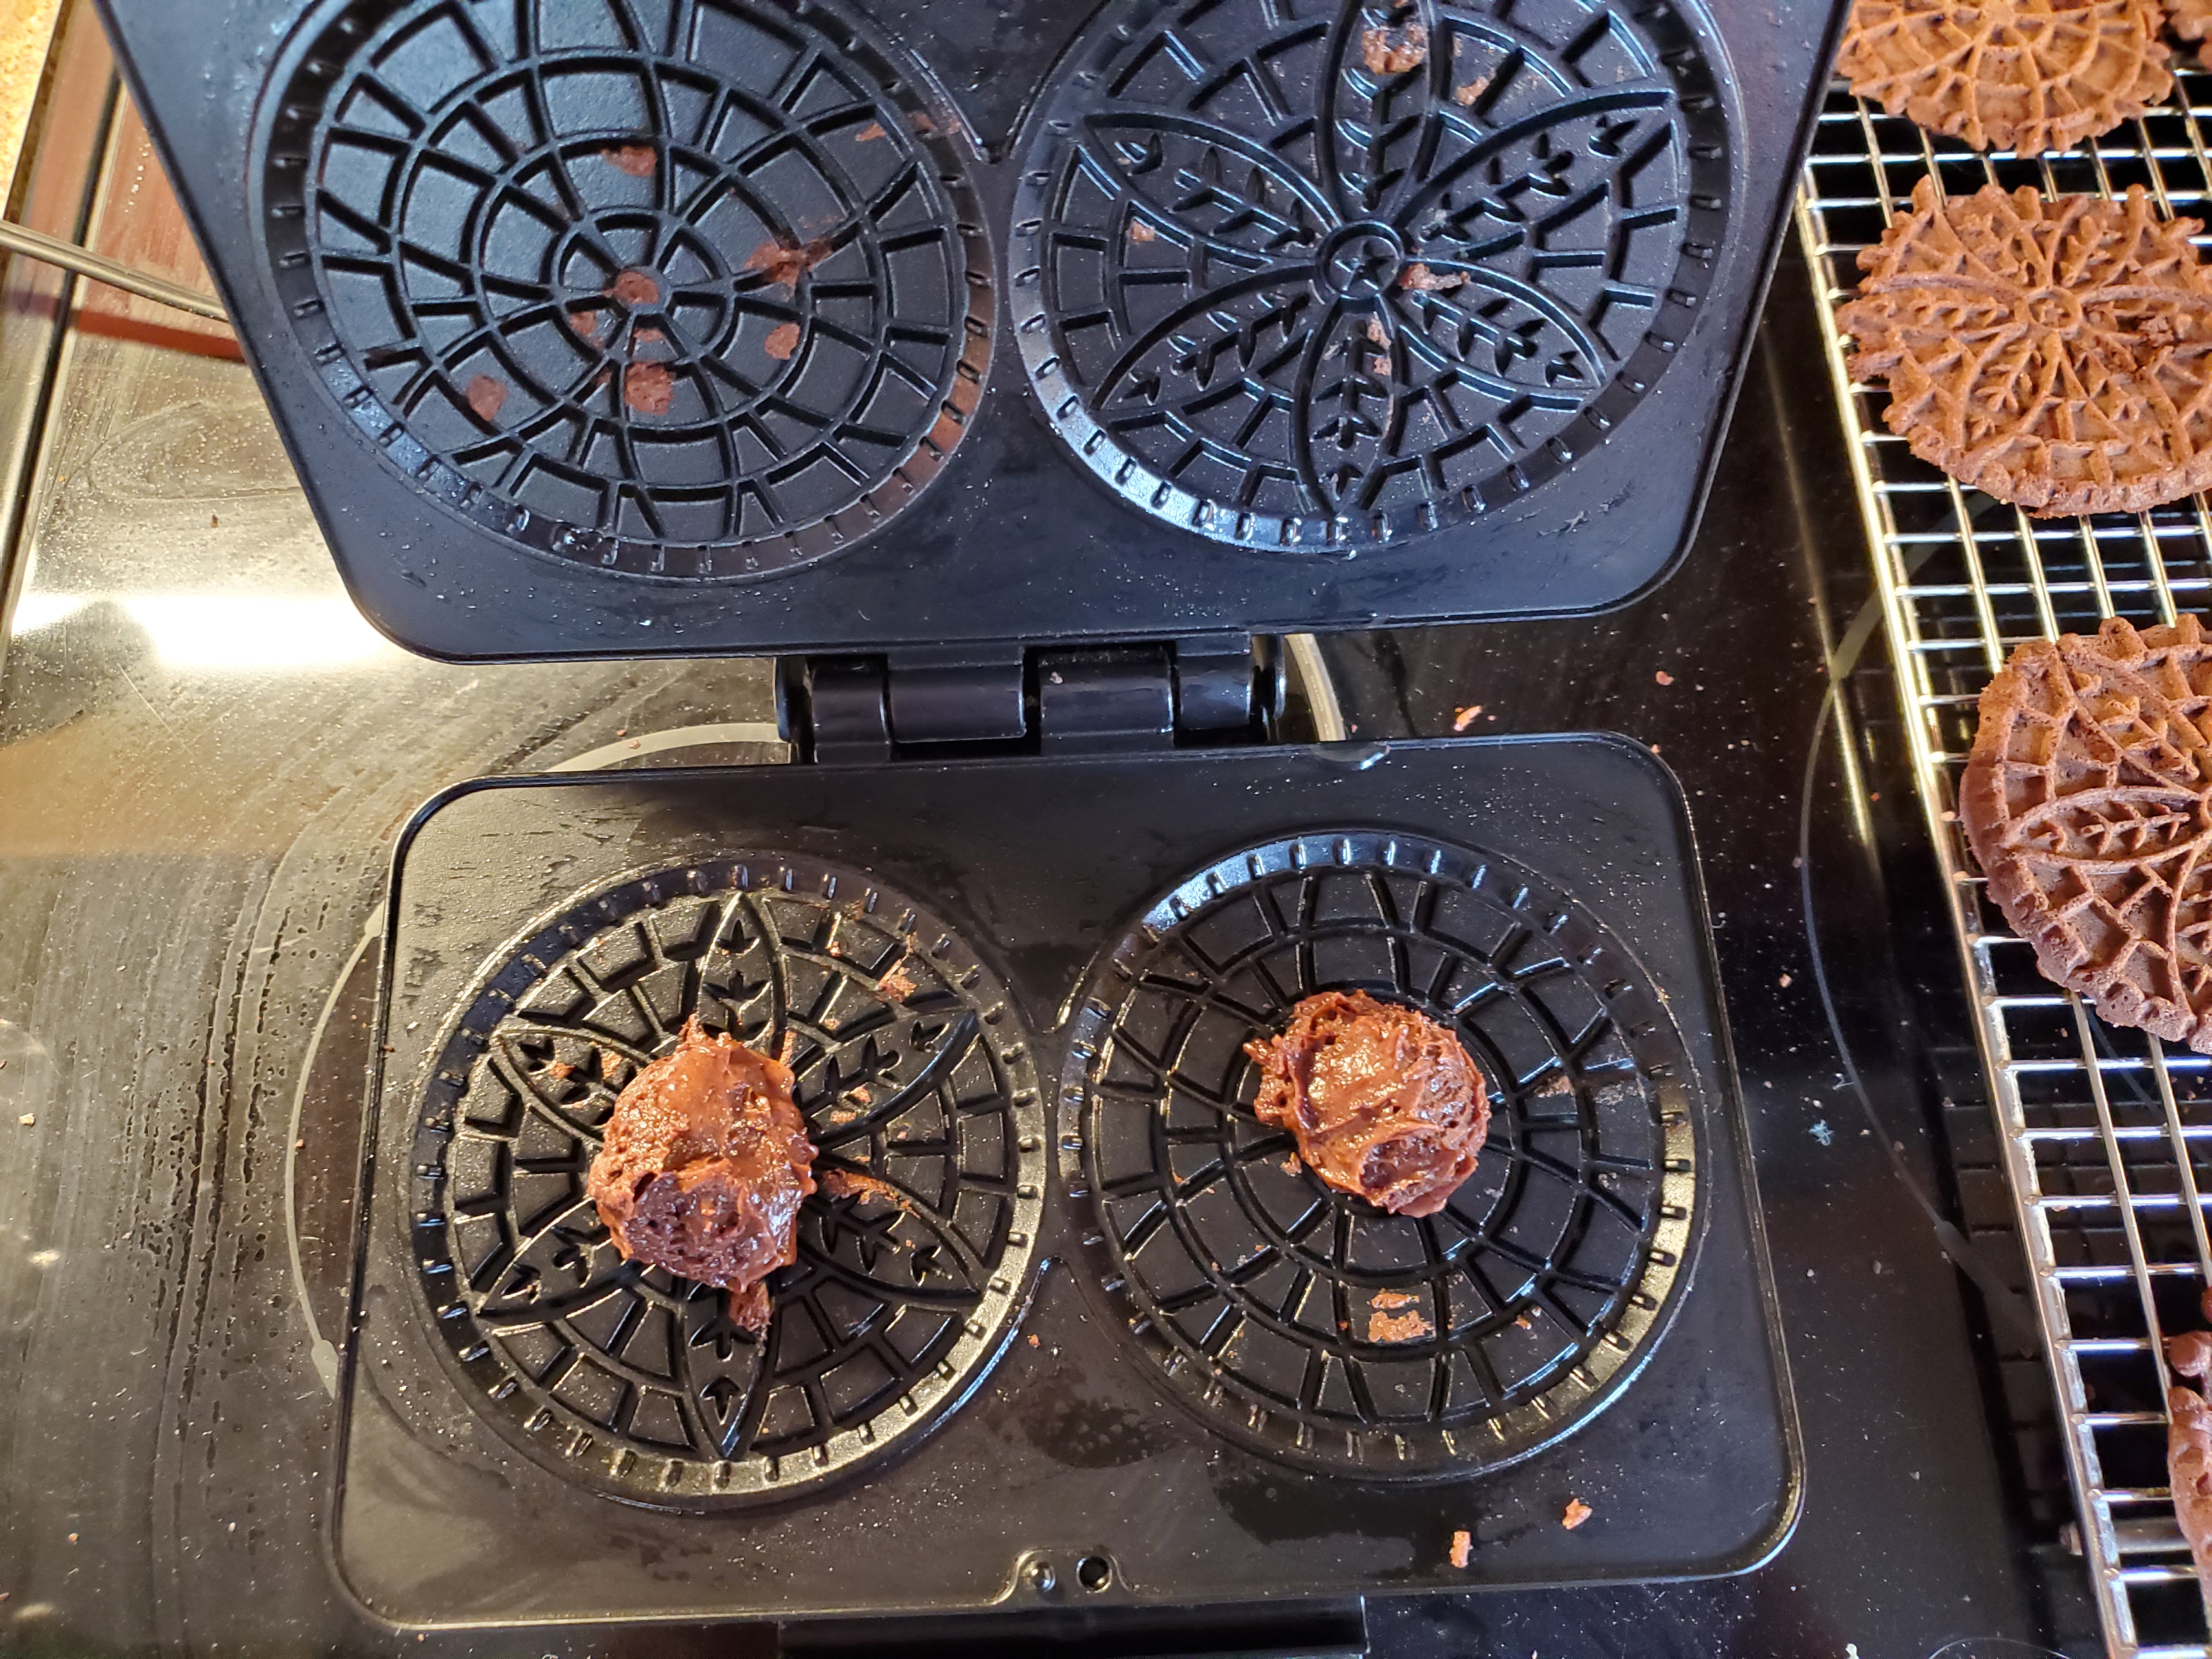
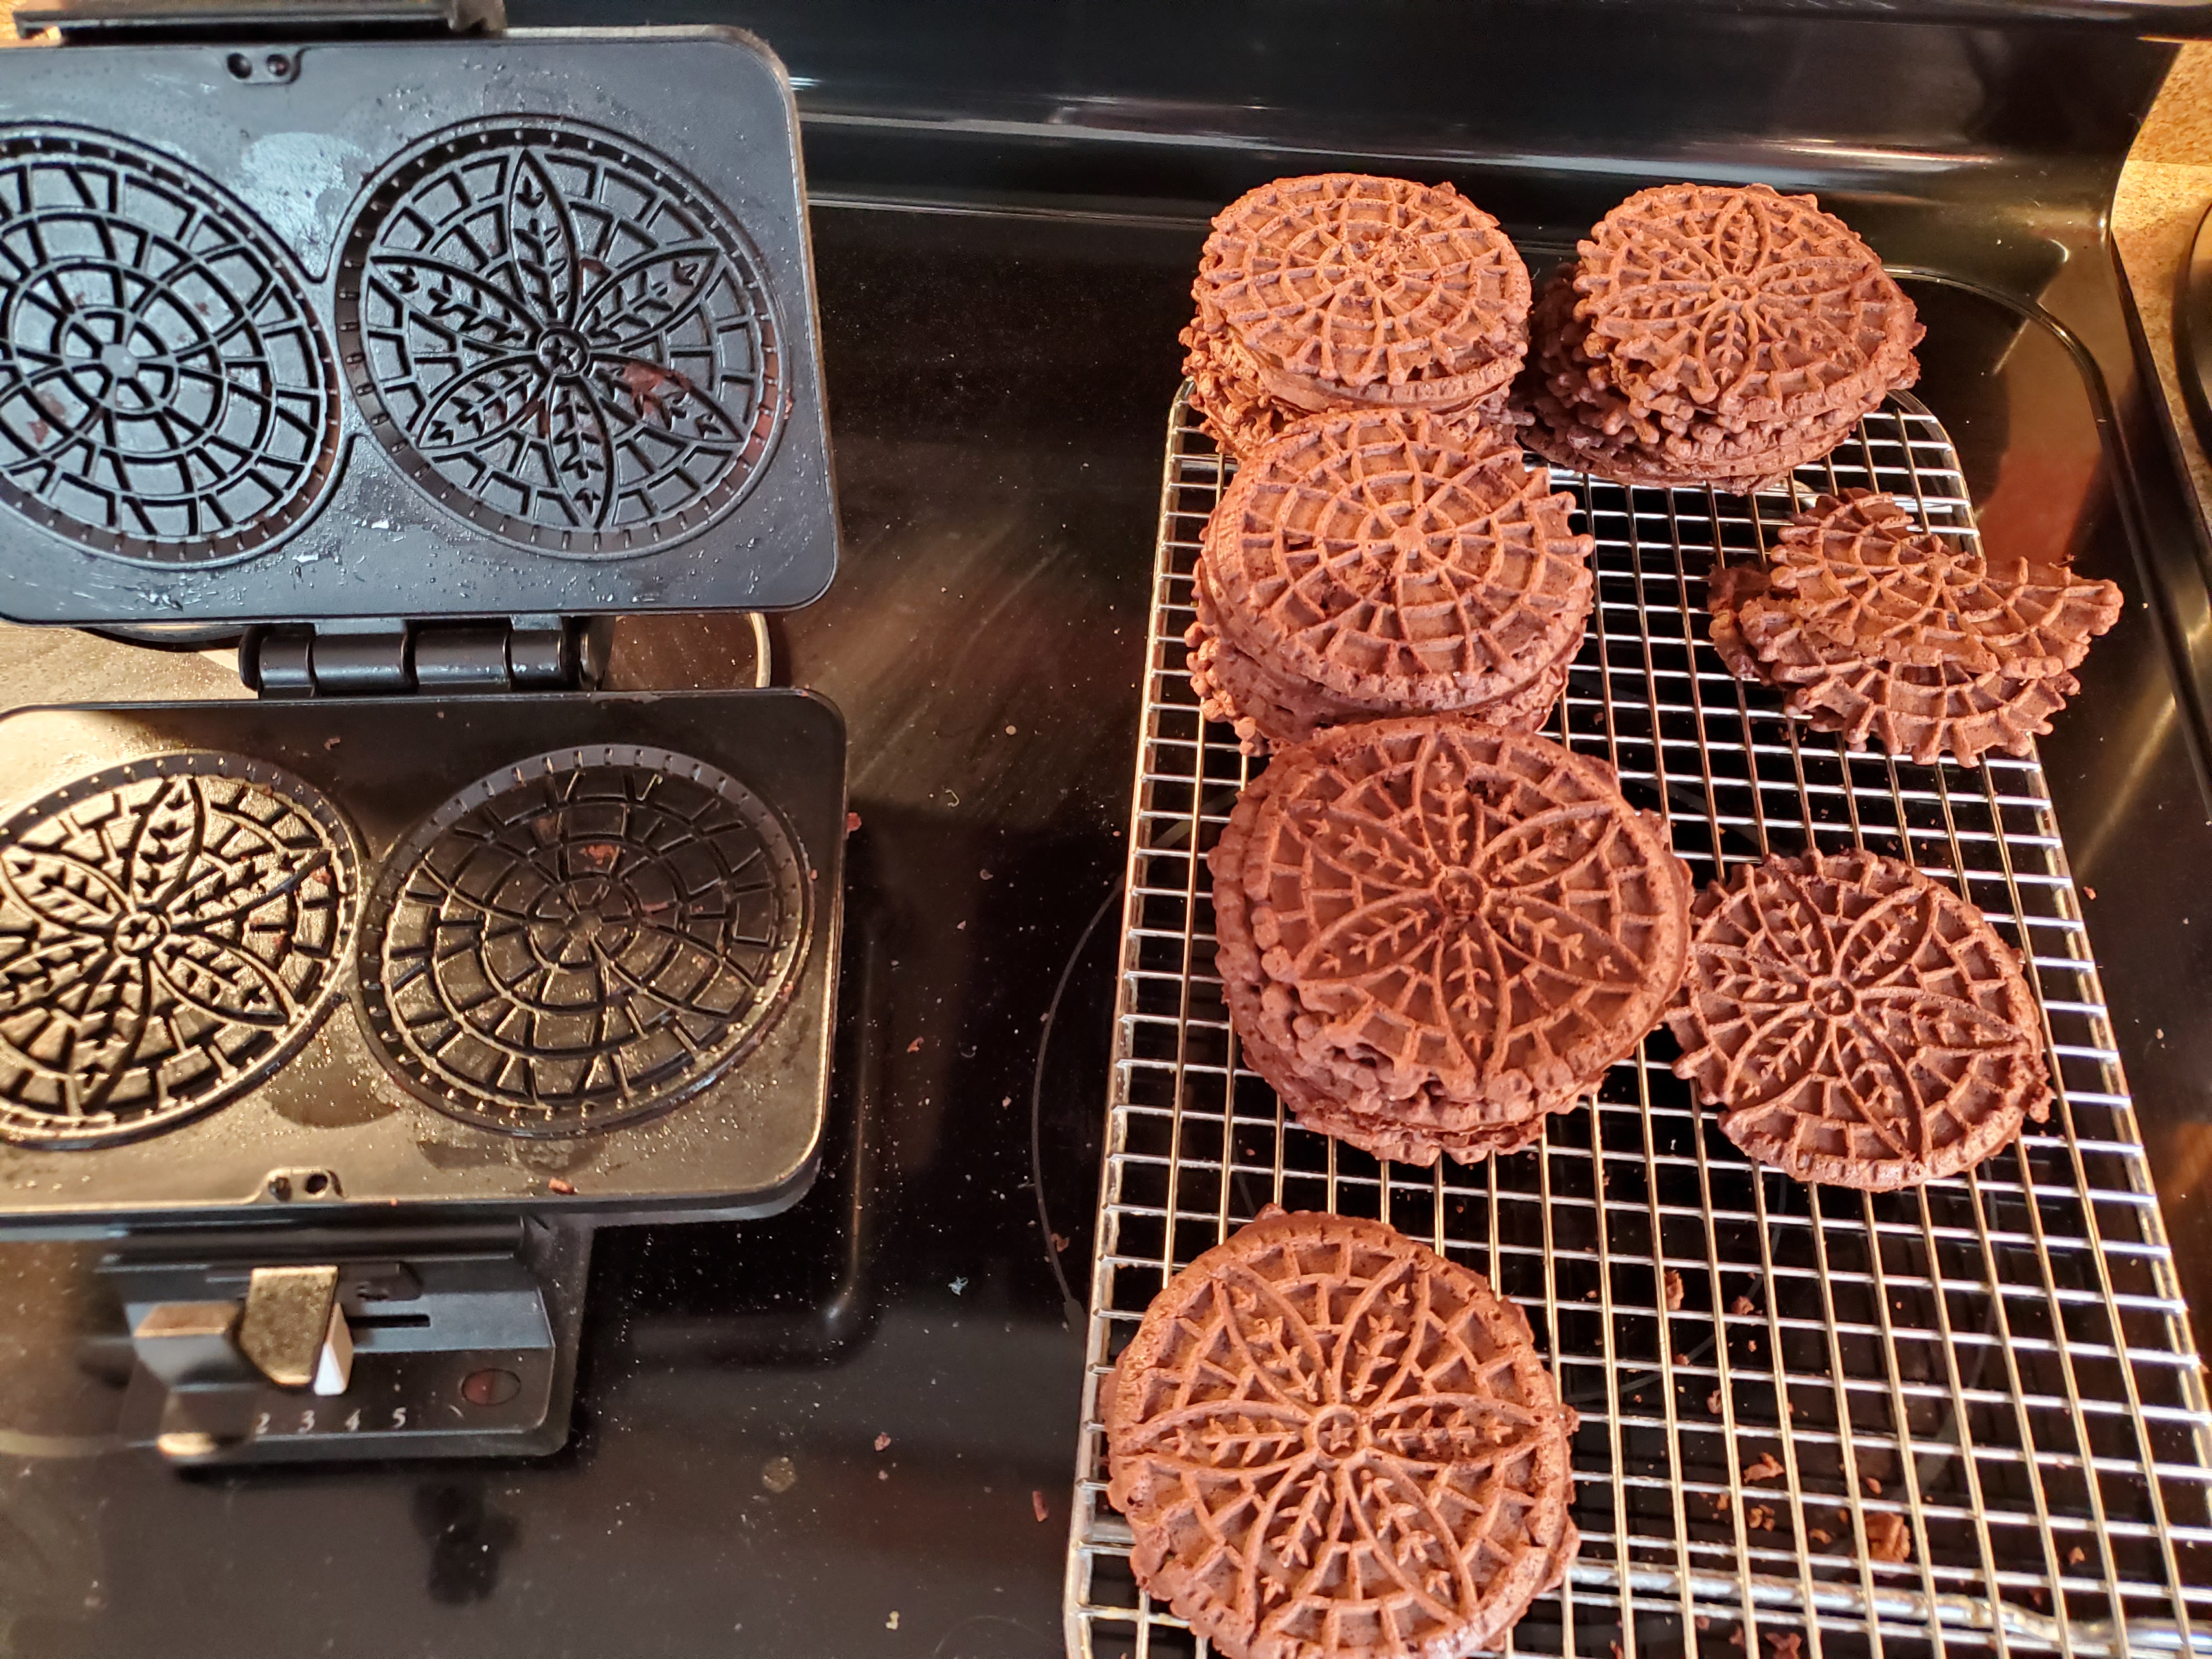
A couple of notes: If you place the dough slightly toward the hinges, the pizzelle will come out more centered. Pizzelles will come out soft but will harden as they cool. You will not get a perfectly formed pizzelle every time, but that’s ok, save the perfect ones for the pictures. While the pizzelle is soft, you can shape it into a cone, a taco shell, a roll, a tube, etc.
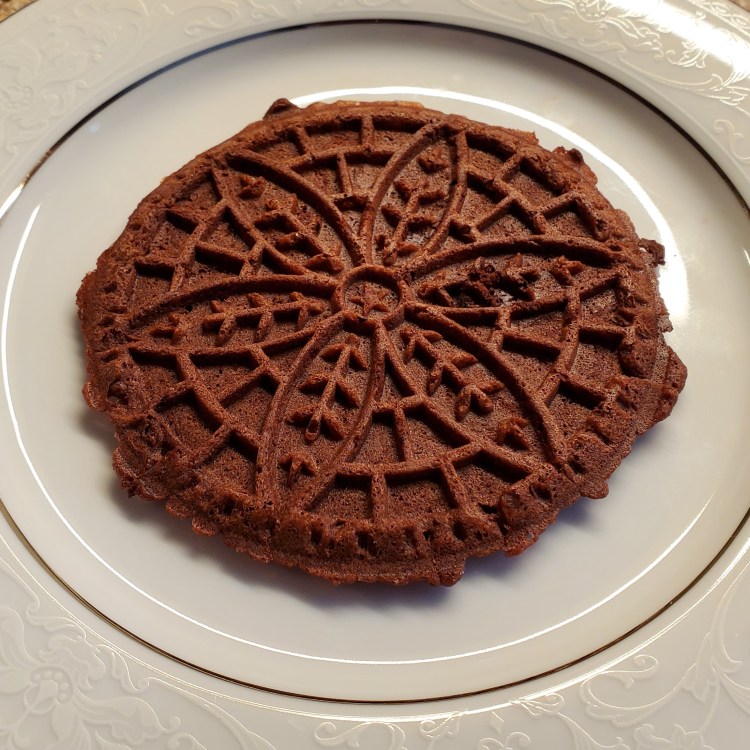
And there you have it, the Chocolate Pizzelles. These pizzelles have a nice flavor and good overall appearance. Totally worth the effort.
I hope you enjoy,
Kappy
Equipment Needed
Pizzelle Iron
Stand Mixer with Paddle attachment
Large Mixing Bowl
1 Medium Bowl
Measuring Cups
Measuring Spoons
Whisk
Large Chef’s Knife
Cutting Board
Cooling Rack
Teaspoon for Scooping Dough
Ingredients
2 – 3 Ounces of Bittersweet Chocolate (Chopped Fine)
1/4 Cup of Dutch Process Cocoa (Unsweetened)
2 Teaspoons of Baking Powder
1 1/2 Cups of All Purpose Flour
3 Large Eggs
1 Cup Granulated Sugar
1/2 Cup Melted Butter
1 Tablespoon Vanilla
Abbreviated Directions
1. Whisk together dry ingredients Flour, Baking Powder, Cocoa, Chopped Chocolate
2. Mix together Eggs and Granulated Sugar until Foamy
3. Mix Melted Butter and Vanilla
4. Mix dry and wet ingredients gradually, until uniform
5. Make Pizzelles per your Iron’s Instructions (Amount and Cooking Time)
6. Remove from Iron and place on Cooling Rack
